Tiles are a perfect finish for a wet room. What appears to be a straightforward task will need some prior planning. Laid correctly, a tiled finish in the wetroom will last for many years.
For expert training in tiling, whether in a wetroom or anywhere else in the house, check out our comprehensive range of tiling courses.
Drainage Systems
Traditionally, a wetroom will drain from all four walls towards a Square Drain situated in the middle of the room or can be situated in the corner of the room where the existing shower was. The floor would then be covered by tile or anti slip vinyl.
Stone In-Fill Grills offer a much more aesthetically pleasing finish. The drainage grills will run across the room and fall into the waste before the room. Lengths of tile will be dropped onto the grills. A pleasing flush tiled finish is the result.
Frameless Grills take the concept to a new level. A mere 5mm of visible gap means the floor will appear completely tiled.
Choosing A Tile
Tiles chosen for a wetroom need to compliment the drainage system being used.
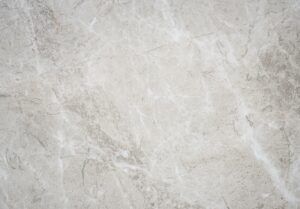
Mosaic tiles should only be used with a traditional style drain. Ceramic tiles can be used with any drainage system, provided they fit exactly around the drain. A cut edge will not be the same colour as the rest of the tile. Porcelain and Natural Stone tiles are both suitable for all types of drainage system.
So, having chosen your tiles, it’s time to start preparing your wet room.
 Priming The Wet Room
A primer, suitable for the type of subfloor, must be laid and then allowed to dry. This ensures that the area is sealed and dust free, a tanking membrane would then be placed onto the walls and floors and all the corners sealed.
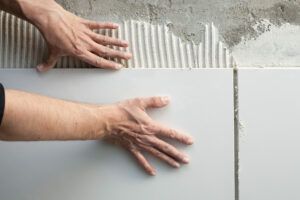
Adhesive Choice And Method
An adhesive must be applied over the whole area to fix the tiles, the adhesive must be rapid setting to ensure it cures on top of the non porous membrane. It should also be a flexible adhesive so that the tiled floor can absorb any movement or provide a better bond.
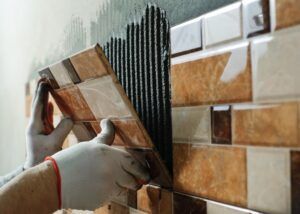
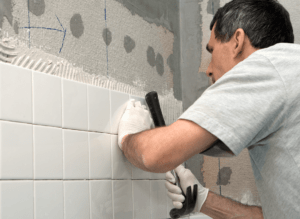
Cutting Tiles
Plan the tiling pattern to suit the drainage. Keeping cuts to a minimum and using envelope cuts done on a wet saw, particularly near the drain, will minimise the risk of water finding a route beneath the tile bed.
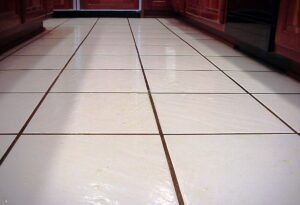
Grouting
When grouting between the tiles choose a fully waterproof, flexible grout, which has been designed to withstand the forceful jets from a modern shower.
Silicone
Once everything is tiled a silicone bead should be applied to where the wall tiles meet the floor tiles to ensure a seal between the two
A well tiled wet room can be quite a statement in the home. Why not get some training from us before tackling your own. We have course aimed at all levels of experience. Get in touch and we’d be happy to discuss your tiling needs.
 Drainage Systems