How To Tile With Metro Tiles
Metro tiles, also referred to as subway tiles, can truly transform your kitchen and offer contemporary appeal that makes a home sophisticated, sleek and clean.
The name subway or metro tiles stems from the tiles featured on the London and New York City subway stations in the early 1900s.
Although metro tiles tend to suit more modern and contemporary properties, it doesn’t mean you should avoid metro tiles completely if you’ve got a more traditional style of property.
In fact, metro tiles come in a great variety of different colours and therefore suit a variety of kitchen designs and styles. You can opt for bright and vibrant tiles, or clean black and white ones, as well as neutral shades. Metro tiles also work incredibly well with wood furniture.
When it comes to how to lay metro tiles, it is useful to know that metro tiles are usually ceramic and therefore more or less follow basic tile installation practice.
How To Tile Metro Tiles
What you will need
PPE (Personal Protective Equipment)
Metro tiles
Tile adhesive
A 6mm notched trowel
Grout
A sponge
A small bucket for water
A cloth
A grout shaper
A tile marker
Tile spacers
Tile file
Tile cutter (manual and electric)
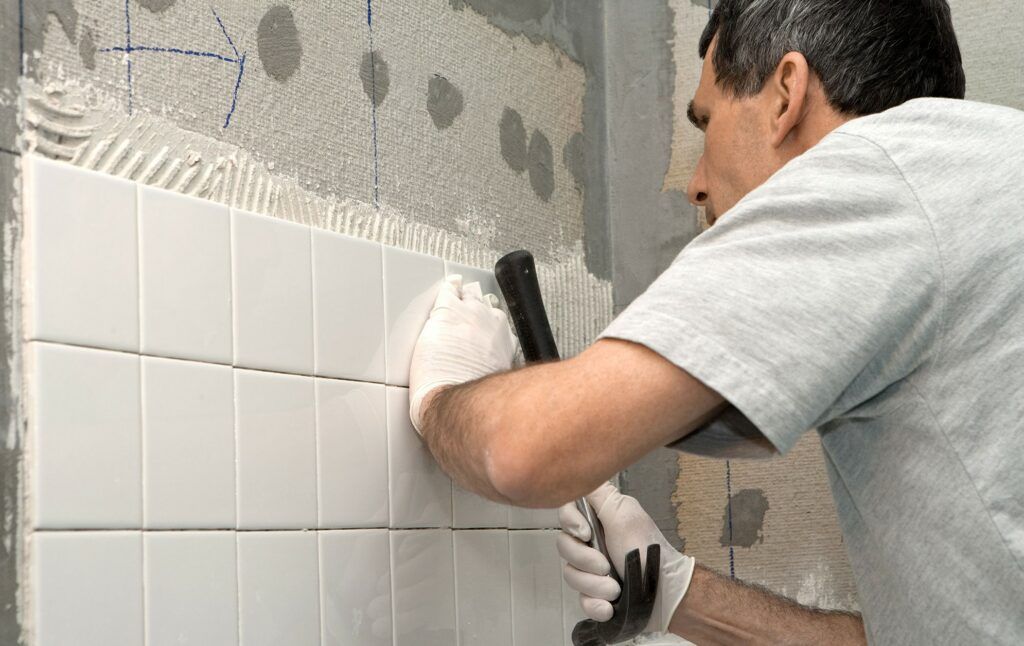
How to tile a wall with metro tiles in a brick bond pattern
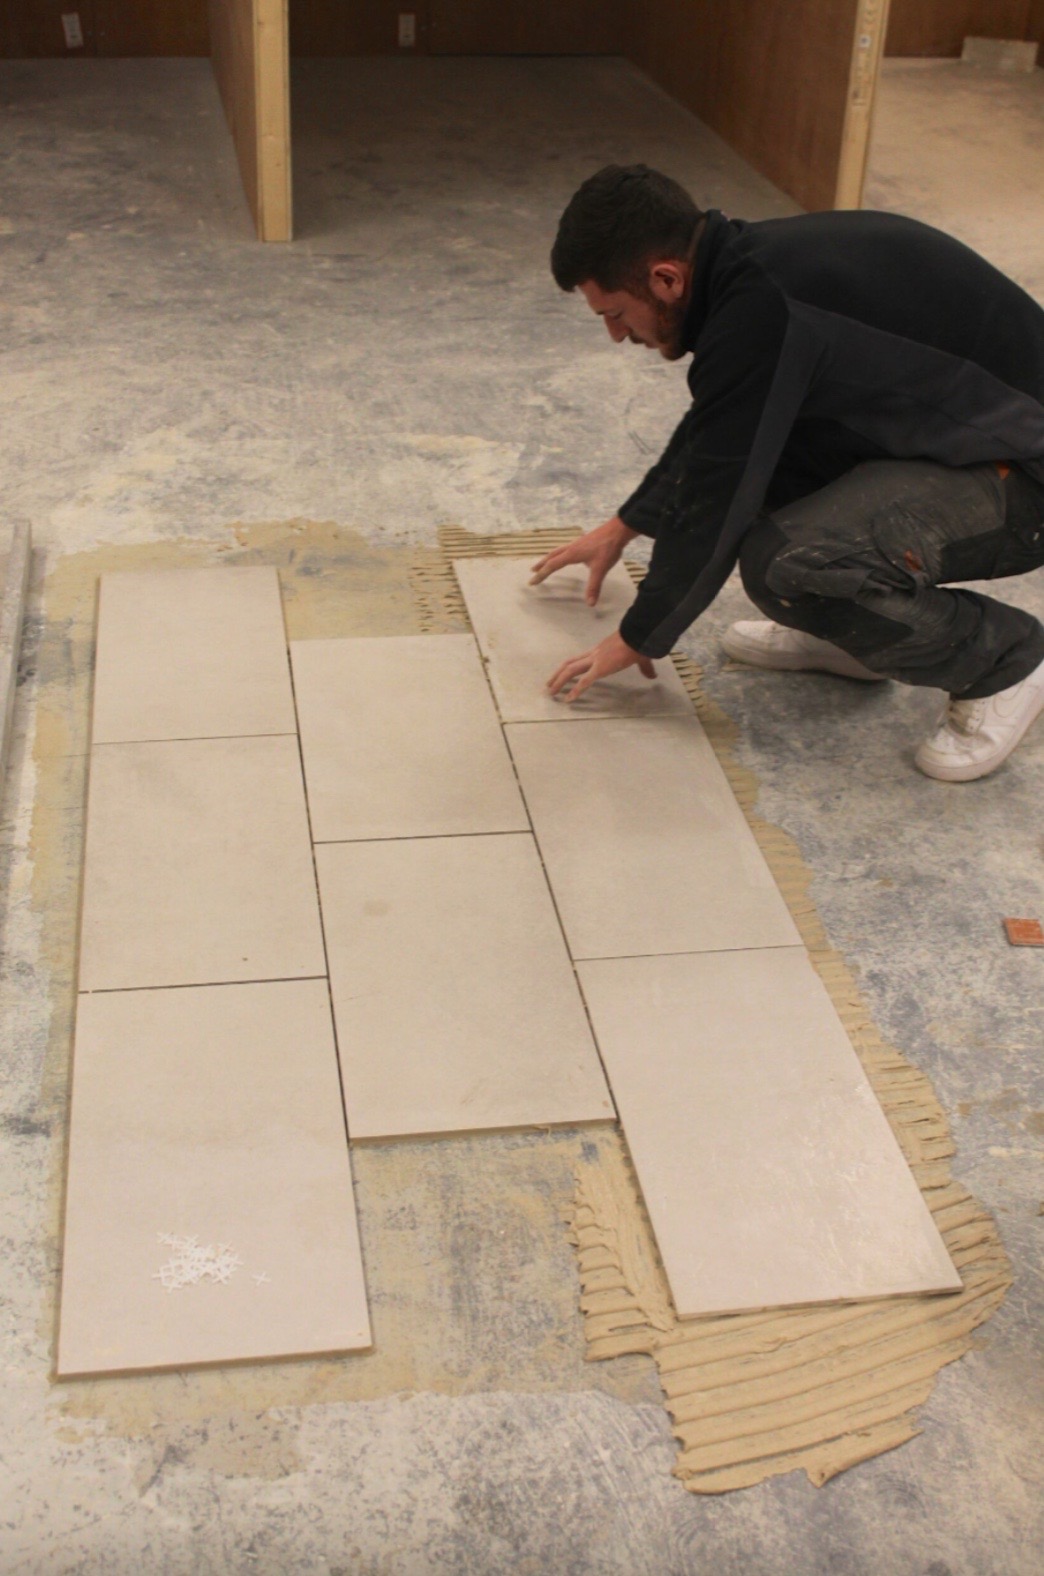
Because metro tiles are often ceramic, in most cases when laying metro tiles, you can use any type of adhesive. Simply lay the first row of tiles on the worktop and then measure the length of the metro tile.
Once you have measured the length of the tile, make a mark at the half way point of the top and bottom of the tile with a tile marker.
Then, the idea is to place this half way mark on the joint on the second row (B) so that the second row is exactly half way over the first.
Once this row is in position, tile this row and then start row (A) again on the third row, matching the joint on the first row.
How to tile metro tiles in a wrap return
A wrap return is when you start tiling the return wall and make it look as if the tile has bent round the wall and the tiling pattern started again.
To start the return wall, you’ll need to make sure that you use a tile that is roughly the same size as the piece you cut off against the internal wall, this gives the look of the tile bending around the wall and starting on the next one.
Once you have tiled the whole room, you can then apply the grout to the tiles, being careful not to leave any grout marks on your carefully positioned tiles.
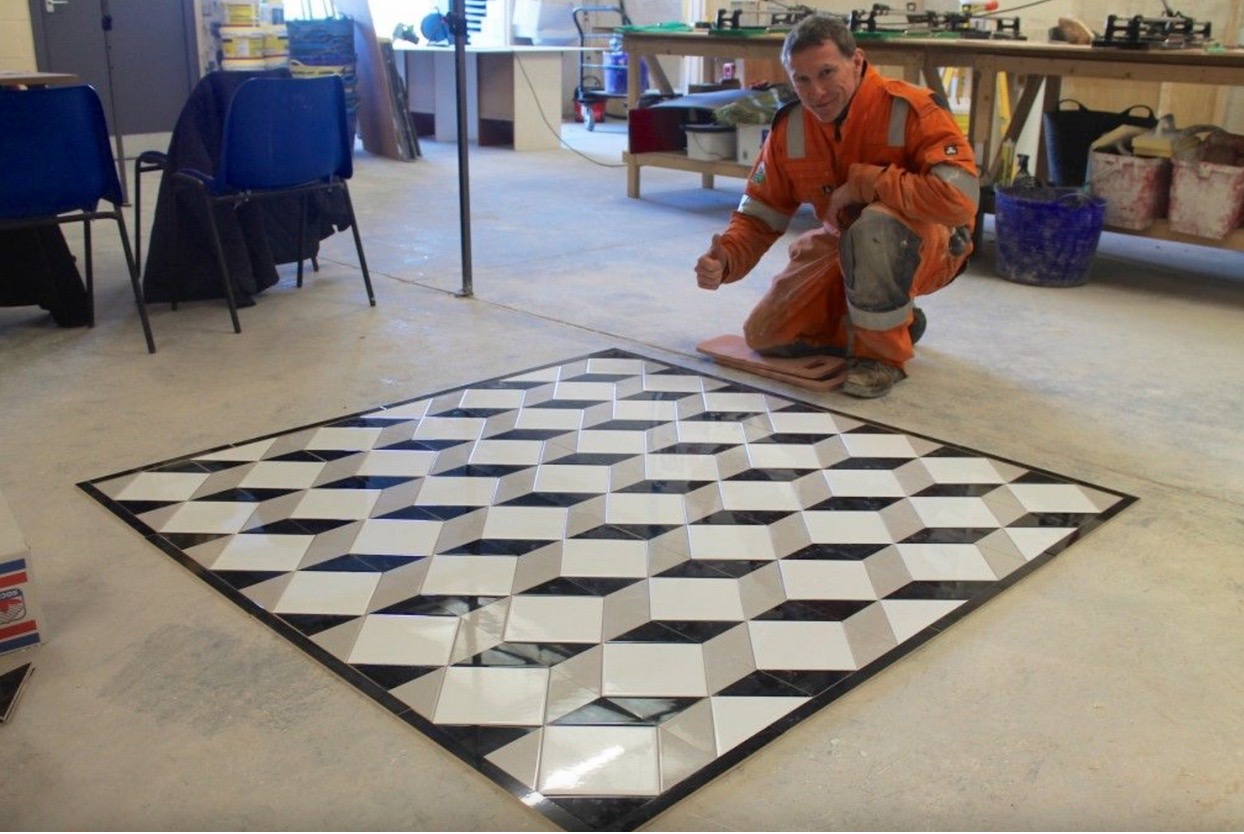
Design Patterns with Metro Tiles
Subway
Herringbone
Double Weave
Vertical Brick
Horizontal Brick
Grouting your Metro Tiles
You can follow our How to Grout tiling guide when it comes to grouting your metro tiles. Remember to allow plenty of time for the tiles to dry before grouting them. Also, you may want to use clear white grout, or a colour variation, depending on the look you are aiming for.
How to cut metro tiles
Cutting metro tiles in the same as ceramic tiles when the method is applied to ceramic metro tiles. You will need to mark how big you need the tile with a pencil, then cut it using a tile cutter.
Choosing metro tiles
Metro tiles can be used on the walls and floors, and are a particularly popular choice for use in kitchens and bathrooms.
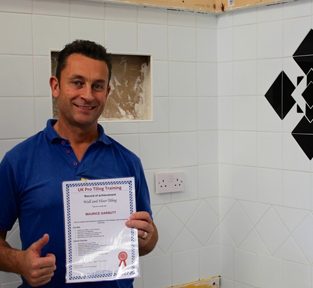
If you would like some more information on how to lay metro tiles, then please contact us at UK Pro Tiling Training.
About Author