How To Repair A Cracked Tile
How to Repair a cracked tile
If you have a cracked tile on your floor or wall tiles then you will need to repair it.
A crack in your floor tiles could mean more underlying problems such as loose floor boards or a plywood underlay that is not thick enough to support the tiles which is causing the cracks. If this is the case then replacing the tile could mean that it will just crack again later and the whole floor might need replacing with the correct preparation first.
A crack in you ceramic wall tiles especially on a bathroom wall which is in the shower area can lead to all sorts of problems as water can get behind the tiles into the walls causing mass failure.
Here is a step by step guide to replacing a tile.
- First of all protect yourself, you will need protection glasses and gloves, Tools required are small flathead screwdriver, hammer and a chisel.
- Rake out the old grout around the tile you are about to take out to free it, this is essential because if you don’t you will end up damaging the next tile as well upon removal, the best way to remove grout is with a flat screwdriver and just keep raking the joint until you have reached the surface, this can take a while and is time consuming.
- Next step is to remove the actual tile, to do this get your hammer and start gently tapping the centre of the tile until it starts to disintegrate and form a hole in the middle, keep tapping all over the tile until it starts to crack, make sure you have your gloves and safety glasses on when doing this.
- Next get your hammer and chisel and start from the middle of the tile and gently chisel the tile away, the tile will crack and come away from the wall in pieces. By working from the middle to outside will minimise damage to surrounding tiles.
- Once this is done and all of the tile is removed you will also need remove any old tile adhesive from the wall, get your hammer and chisel again and chisel the adhesive away to leave a flat surface.
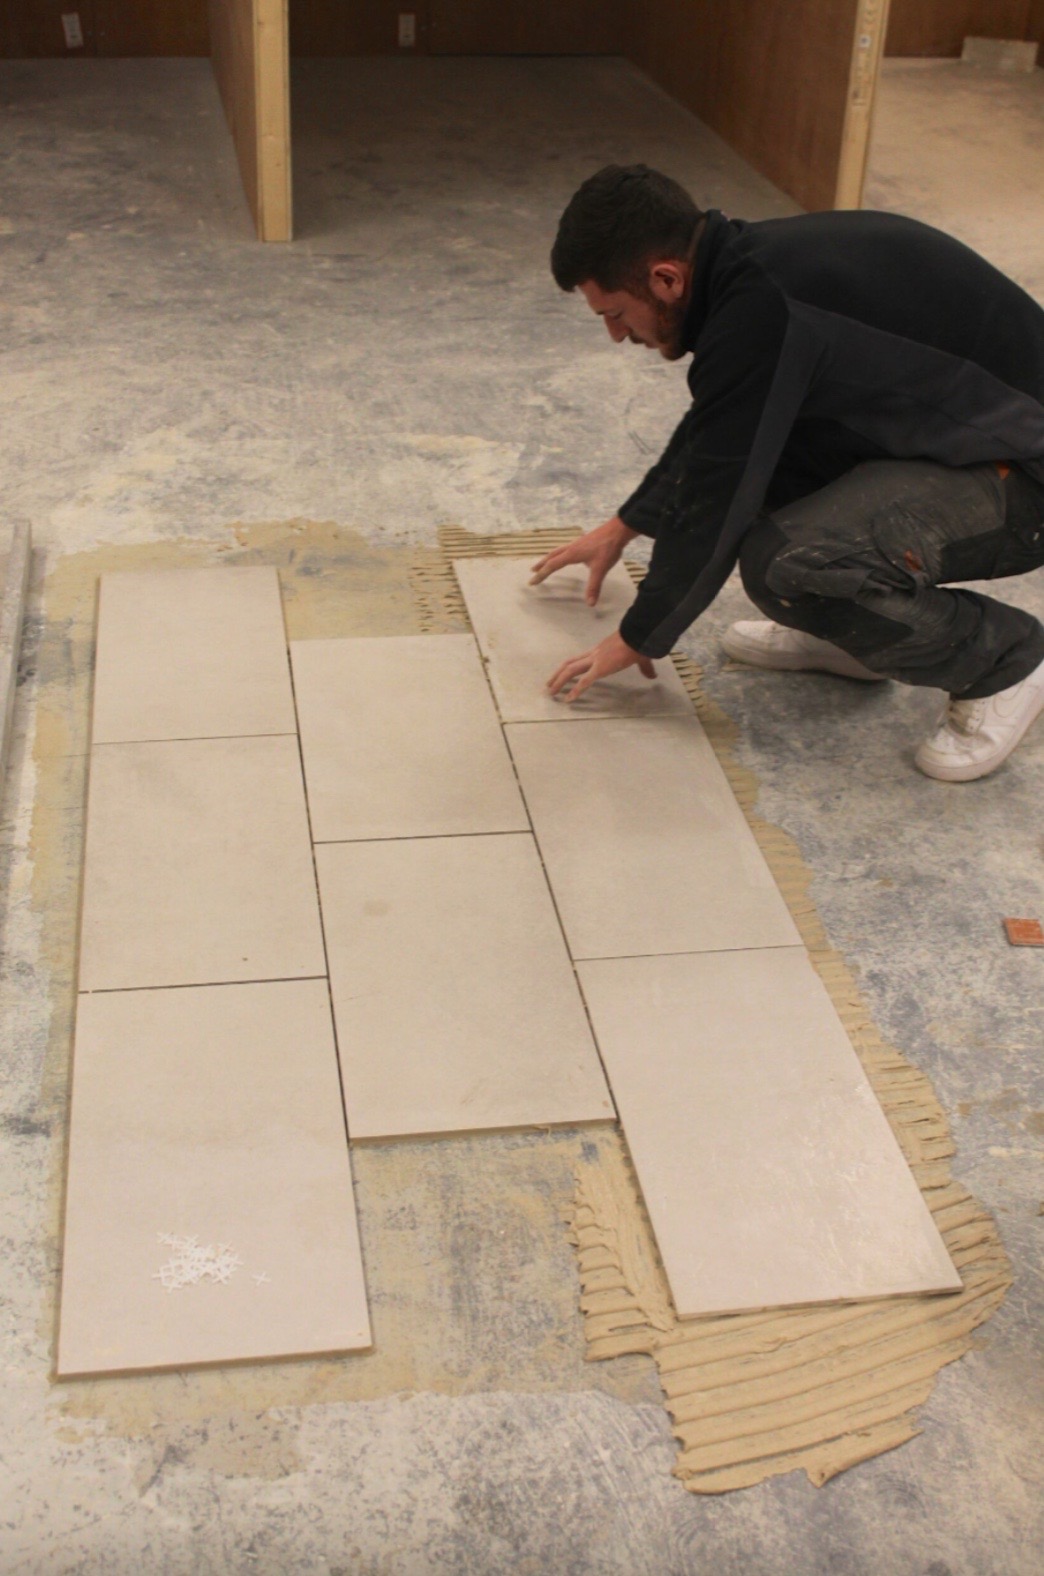
- The last step is to simply apply some tile adhesive to the back of the new tile and fix back into the space, once the adhesive is set you can then apply some new grout back into the joints and the job is then done.
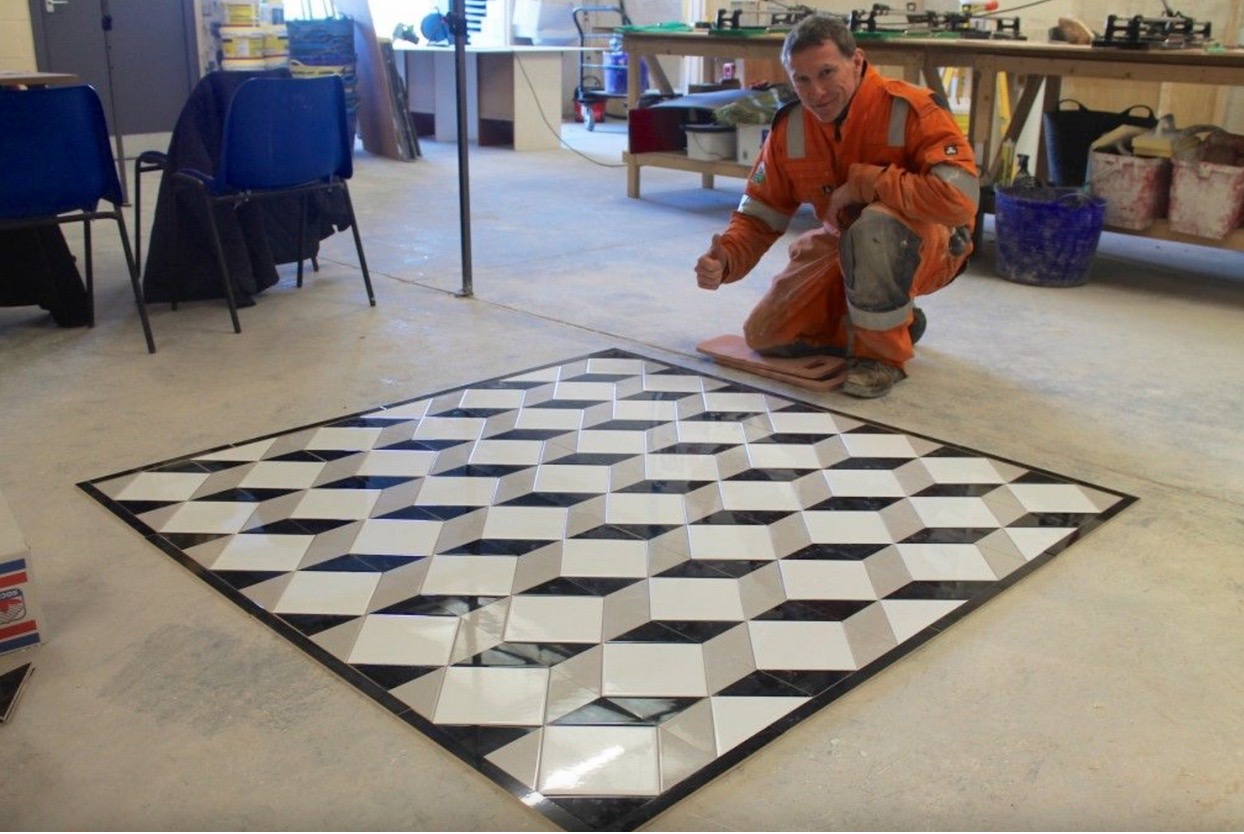
Would you like to learn how to tile for your own projects or maybe looking for a career change, then UK Pro Tiling Training can provide fast track tiling courses for all levels and abilities.
About Author