How To Tile A Floor

Darren Yorke, founder of UK Pro Tiling Training, believes that any professional tiler should be able to learn how to lay floor tiles with the correct tiling training.
When tiling a floor, it is important to prepare the floor correctly and take your time during all stages of the project.
Here are a few key steps on how to tile a floor
:
1.Prepare the floor
There are many different problems that can cause failure if the floor is not prepared right, the main one is bounce.
Bounce is a potential problem, especially on a wood floor board, and has to be controlled. A 6mm cement board overlay is the best thing to combat bounce.
Make sure the floor is clean, dry and apply SBR primers, use a flexi adhesive and grout. It is best to start furthest away from the door.
2. Work out the starting point
It is best to ensure that the floor is set out correctly so you don’t end up with small cuts anywhere. If its a square room you’re tiling, then you can put a centre line down the middle and start either side of this line.
You can also tile in the middle of the room, depending on which gives you best tile cuts. To do this, place your key tile at the opposite end of the main door and then tile backwards to the exit door.
3. Mix your tile adhesive
You will need a powdered cement-based adhesive for floors, one that you mix up yourself. Avoid ready-mixed adhesives as these take too long to dry and are generally not strong enough.
If you are using porcelain or natural stone, or if the floor has any wood features, then flexible cement adhesives would be required, floor cement usually has 20 minutes work time from mixing and sets in 3 hours.
4. Apply the adhesive
Once you are happy with the position of the key tile use a 10mm-12mm square notched trowel and make sure you trowel the ribs in one direction. Keep the trowel at a constant 45-degree angle.
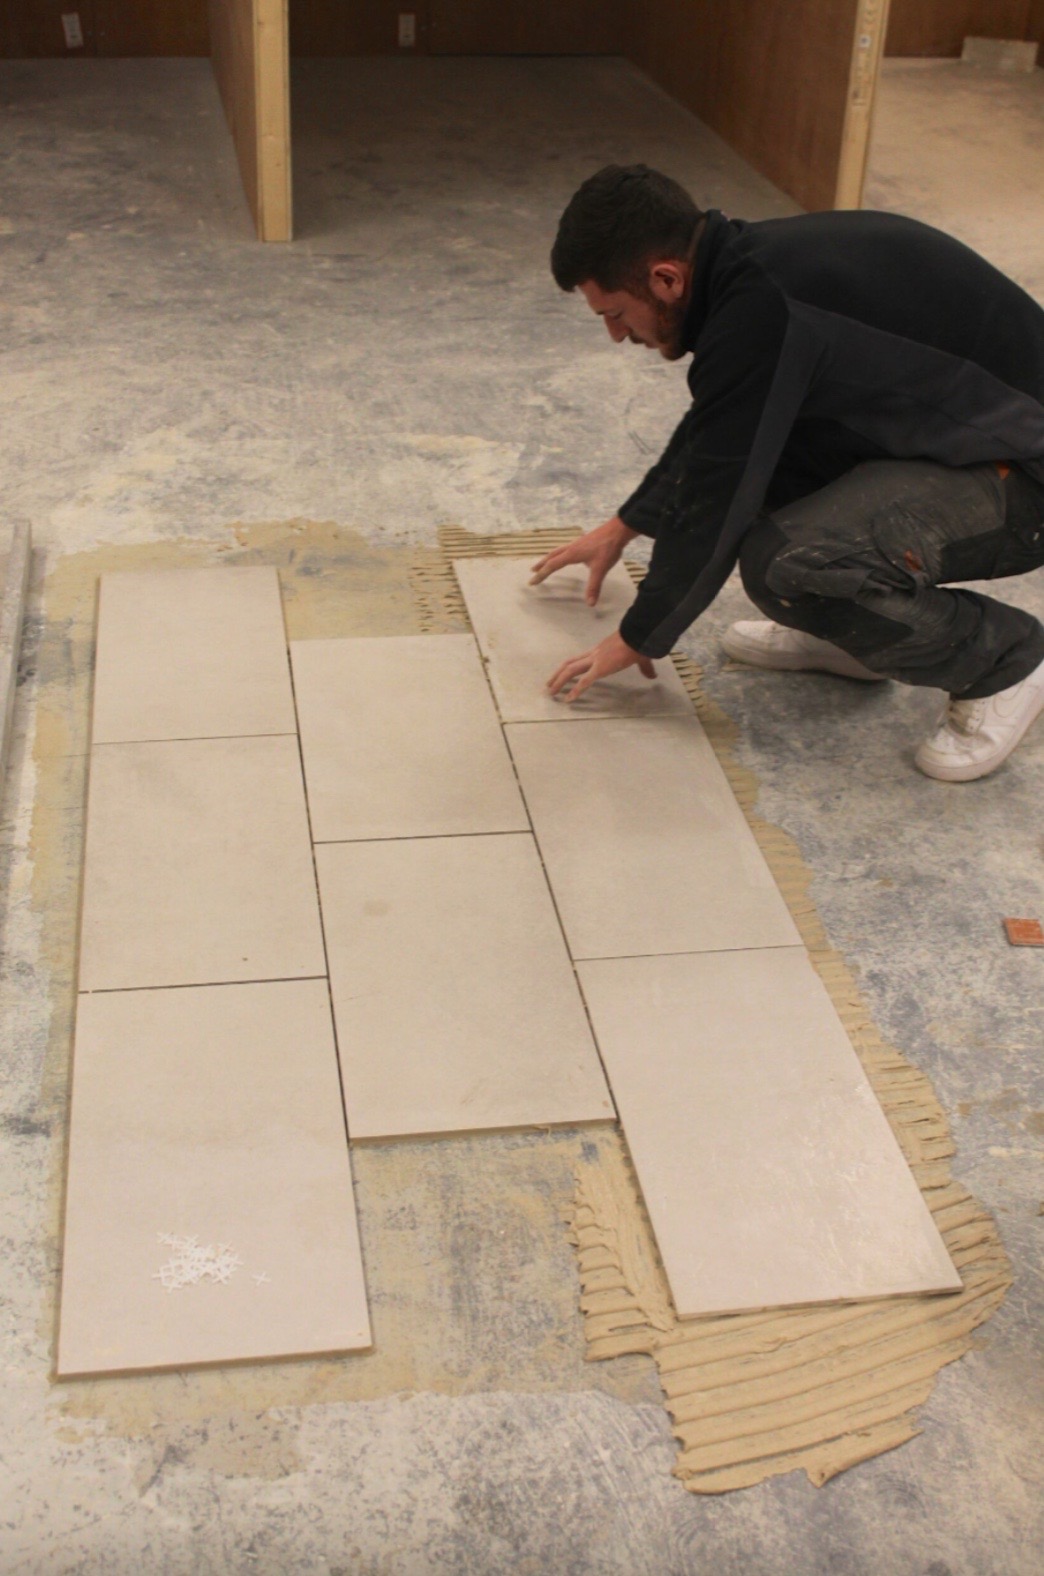
5. Lay the rest of the tiles with the adhesive
Apply the tiles working across the room in rows of two at a time, blocks of 4 tiles together. Make sure you consistently check the levels and apply 3mm spacers between the tiles.
6. Cut tiles where necessary and lay them with adhesive
It is best to cut the tiles against the walls as you go so when you get back to the exit, the whole floor is completely tiled ready for grouting later.
7. Grout the tiles
Grout the tiles using a rubber grout float. Use a cement-based grout and force it into the joints between the tiles. Once this is achieved, get a sponge and clean the tiles using swirling motions, rinsing the excess grout off with clean water until the tiles are clean and the joints are smooth.
8. Clean down the floor of any excess grout on the tiles, then wait for the floor to dry
Make sure you do not let any adhesive or grout dry and harden on the tiles. This will be very difficult to remove once set.
Learn how to tile a floor with UK Pro Tiling Training
UK Pro Tiling Training can provide you with the education you need to complete professionally tiled flooring project. You can also take a look at our floor tiling guide for some tips on your floor tiling project.
About Author