How much adhesive do I need for floor tiles?

If you’re about to lay a tiled floor, knowing how much adhesive to use and which type is best is crucial to the success of the job.
The last thing you want is having a tile slip from its place on the floor because there wasn’t enough for it to stick to. Likewise, you don’t want to have too much leftover to reduce your costs.
Then there’s the tile itself – which adhesive is right for tiling a floor? And what about the room itself? There’s a lot of different factors involved that could make or break your project.
Our top tips below will put you on the path to success with laying your tiled floor.
Types of adhesive
It’s important to get to know the different types of adhesive: ready mixed and powdered. Which is best for your floor tiling project comes down to a few factors. Let’s take a look at the differences between the two types and which is best for tile flooring.
Ready mixed adhesive
This type of adhesive is traditionally used for smaller tiles and walls. Ready mixed is more expensive as it’s premixed and easier to work with if you’re inexperienced with tiling.
Ready mixed adhesive is better for wall tiling, though the technology is moving on quickly. There are now some ready mix brands available that say they’re suitable for floor tiling as well as walls. For the moment, we’d recommend powder adhesive for tile flooring.
Powder adhesive
This type of adhesive is the gold standard for floor tiling and larger tiles. This is because you mix the powder with water yourself, controlling the level of moisture that’s in the mixture. Anything too wet won’t dry properly, and the floor tiles risk moving around after being laid and eventually cracking.
We’d recommend using a powder adhesive for floor tiling. Aim for a good quality one if you can afford it – powder adhesive is usually cheaper than ready mixed, but there can be a difference in quality. Some brands have fast-dry technology, which means you can get to grouting after just a few hours of the tile being laid.
Room considerations
Something else to consider is the room itself where your new floor is going to be.
First off, you need to consider the room you’re tiling and its use. Is it a busy hallway in the centre of a house, or in an upstairs cloakroom that doesn’t get a lot of use? Floor tiles will be subject to more movement than a wall tile, so you may need more adhesive than you think to make sure the tiles won’t budge out of place.
Another thing to think about is the moisture levels of the room. A bathroom or wetroom would have more moisture hitting the tiled floor than a dining room or kitchen. This is where the type of adhesive you decide on matters. Powdered adhesive is recommended for floor tiles generally, but especially so when there’s a wet environment where the moisture can’t evaporate as quickly.
Do different tiles need different adhesives?
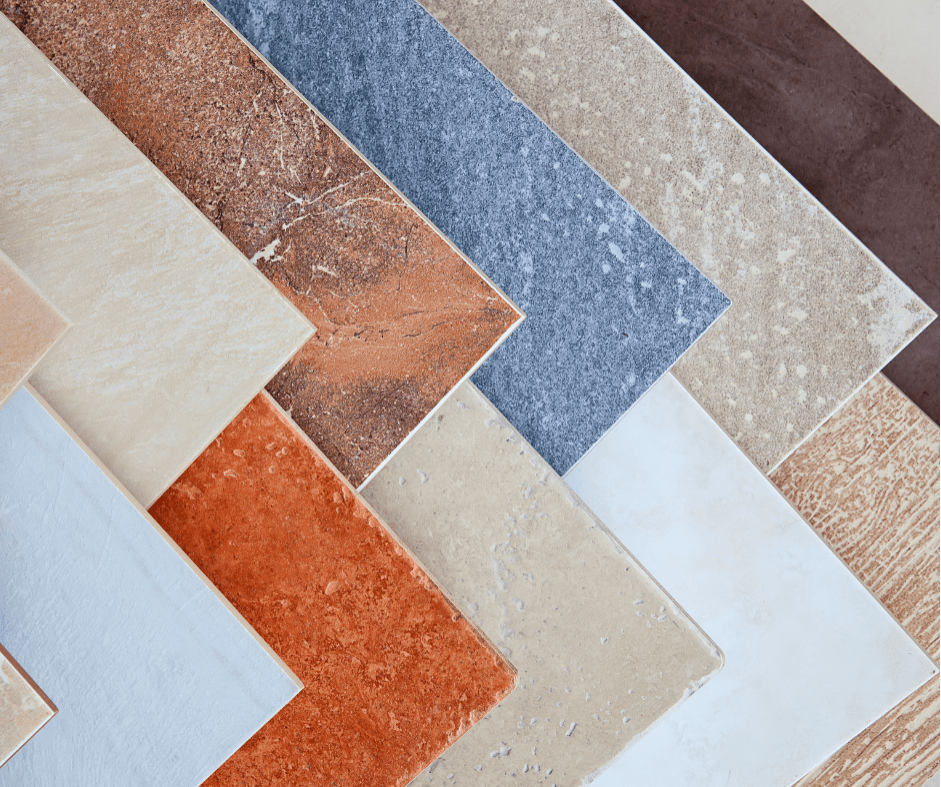
There’s not a significant difference in which adhesive you need for a floor tile, though there can be some variation with how much adhesive you need. A porcelain tile, which is denser than a ceramic tile, will need more adhesive to stick.
You should also consider the size of your tile before applying adhesive to your floors. A lighter tile, such as a ceramic one in a smaller size, won’t need as thick a layer of adhesive. On the other hand natural tiles like stone, or anything in a larger size will need more depth in the adhesive.
How much adhesive do I need?
To work out how much adhesive you need to buy, you’ll need to know the total square metres of the floor being tiled and how far apart the tiles are being spaced from each other. A rough guide is that you’ll use 5kg per square metre when you’re tiling a floor. This can go up or down depending on the type of tile and how far apart they’re set from one another.
Working out how much adhesive you need doesn’t need to be a hard calculation. You can find different calculators online to help you work out how much adhesive you’ll need. Also, most adhesives will have instructions on them and tell you how much it will cover.
When in doubt, buy slightly more than you need to account for mishaps and to avoid an unexpected trip to the shops.
How to apply adhesive
You will need:
– A floor trowel
– Bucket
– Mixing paddle
– Protective equipment: eye goggles, mask, gloves
– Spacers
To start, you’ll need to mix your adhesive. Follow the package instructions to find out how much water you’ll need to mix with the powder. Be sure to mix thoroughly with the mixing paddle until there are no lumps.
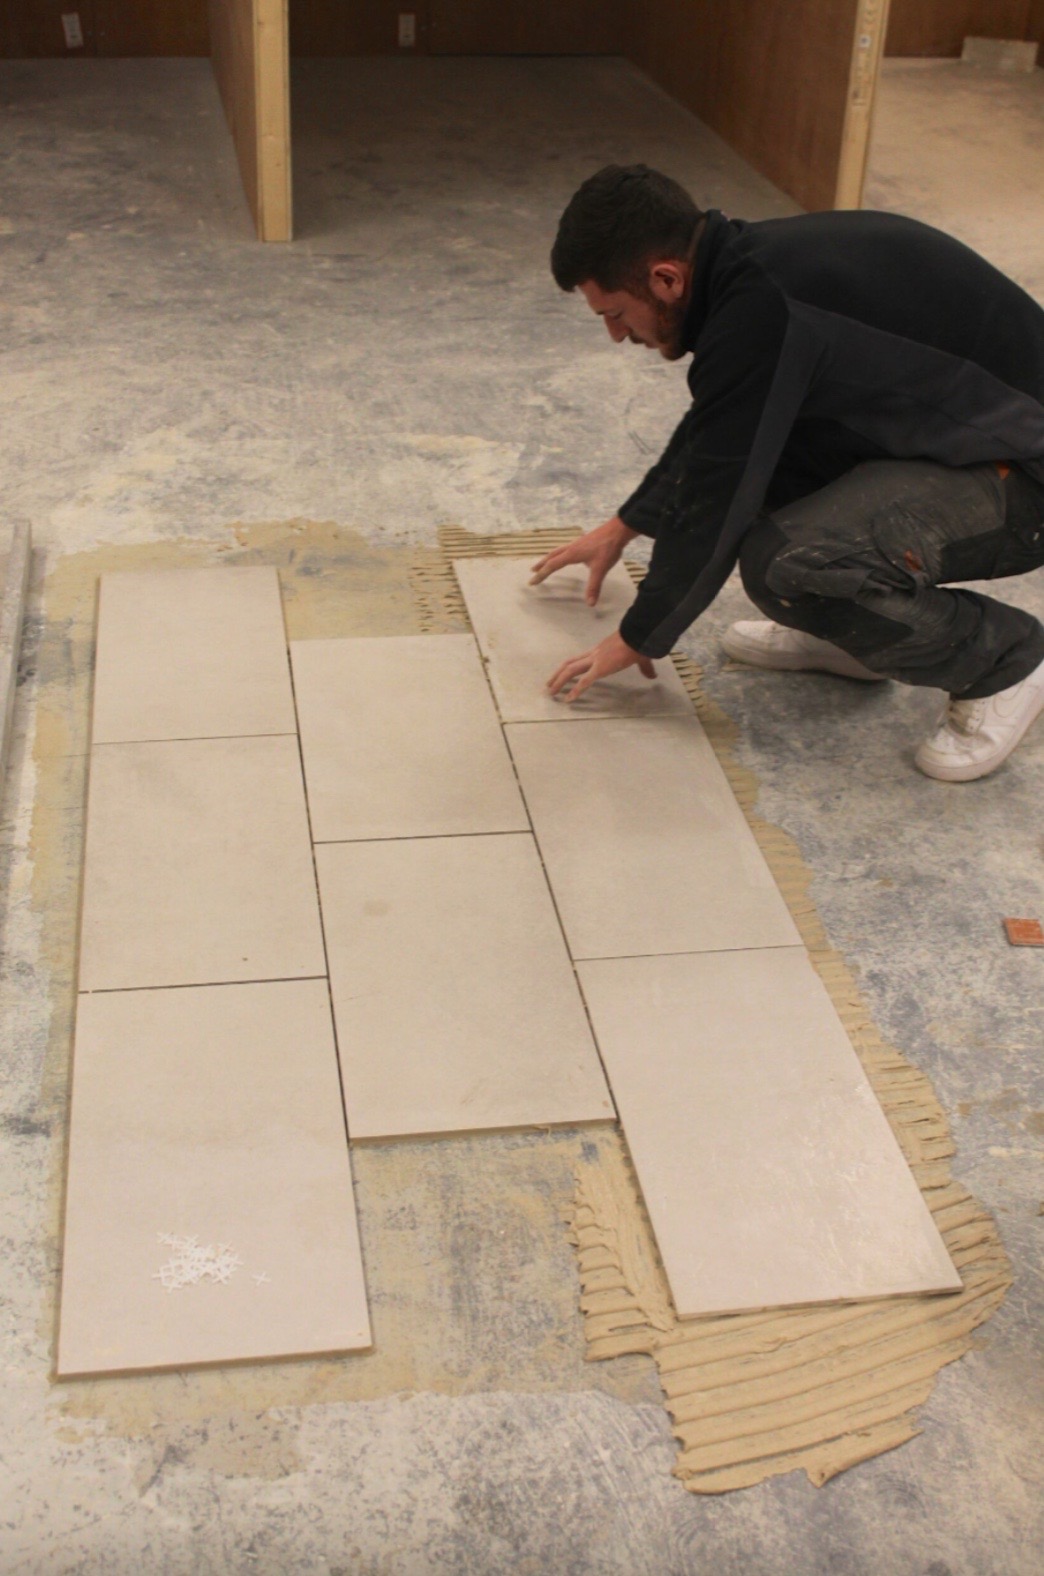
Use your floor trowel to spread a layer of adhesive over the areas you’re tiling. Start off with a small section first, as the adhesive can dry quickly depending on which brand you’ve chosen.
Push your tiles into the floor with the desired spacing in between. Be sure to place the spacers to maintain the distance while they’re drying. Be careful not to move the tiles while they’re still wet, as they may dry slightly crooked.
Once the adhesive is completely dried, you’re ready to grout. This could take anywhere from a few hours to a couple of days, depending on the room and tile.
Then, you’re all finished and your floor is fully tiled!
Wrapping up
By now, you should feel confident in understanding the different factors that come into laying a tiled floor, and how much adhesive you need to properly lay your tiles. You can always come back to this guide if you want to brush up on your knowledge.
Fancy sharpening up your skills even further? Our professional tiling courses will give you all of the expertise you need to lay a fantastic tiled floor.


