Tips for Tiling a Bathroom
Bathrooms are surely the no.1 choice to decorate using tiles, with tiles having the most practical, hardwearing and waterproof properties as well as a huge choice of styles, colours shapes and sizes.
 How easy is it to tile a bathroom? With obstacles such as sink and toilet pedestals, showers, windows and door frames to consider there is a lot of planning and preparation involved to create the perfect tiled bathroom.
So, first of all what tools do you need? Well, the checklist below is a lists the tools you are likely to need:-
- Pencil
- Level
- Tape measure
- Sponge
- Bucket
- Tile cutter
- Tile nipper
- Notched Trowel or Spreader
- Square
- Rubber grout float
- *Sander
- **Piece of timber
And importantly for your own health and safety:-
Safety goggles
Dust mask
Gloves
Knee pads (depending how good your knees are!)
There are additional tools such as a contour or layout tool that can be included in your list for those awkward cuts or you can go back to basics and use card or paper to make a template.
So, with your tools and safety wear sorted, next is to measure the area that needs to be tiled (remembering to allow 10% for breakages and spares).
Whatever the job, the key to a successful and professional looking finish is always in good preparation. Walls and floors to be tiled need to be flat and clean – some areas may need *sanding so be sure to remove all dust before applying the tiles.
Planning how to apply your bathroom tiles
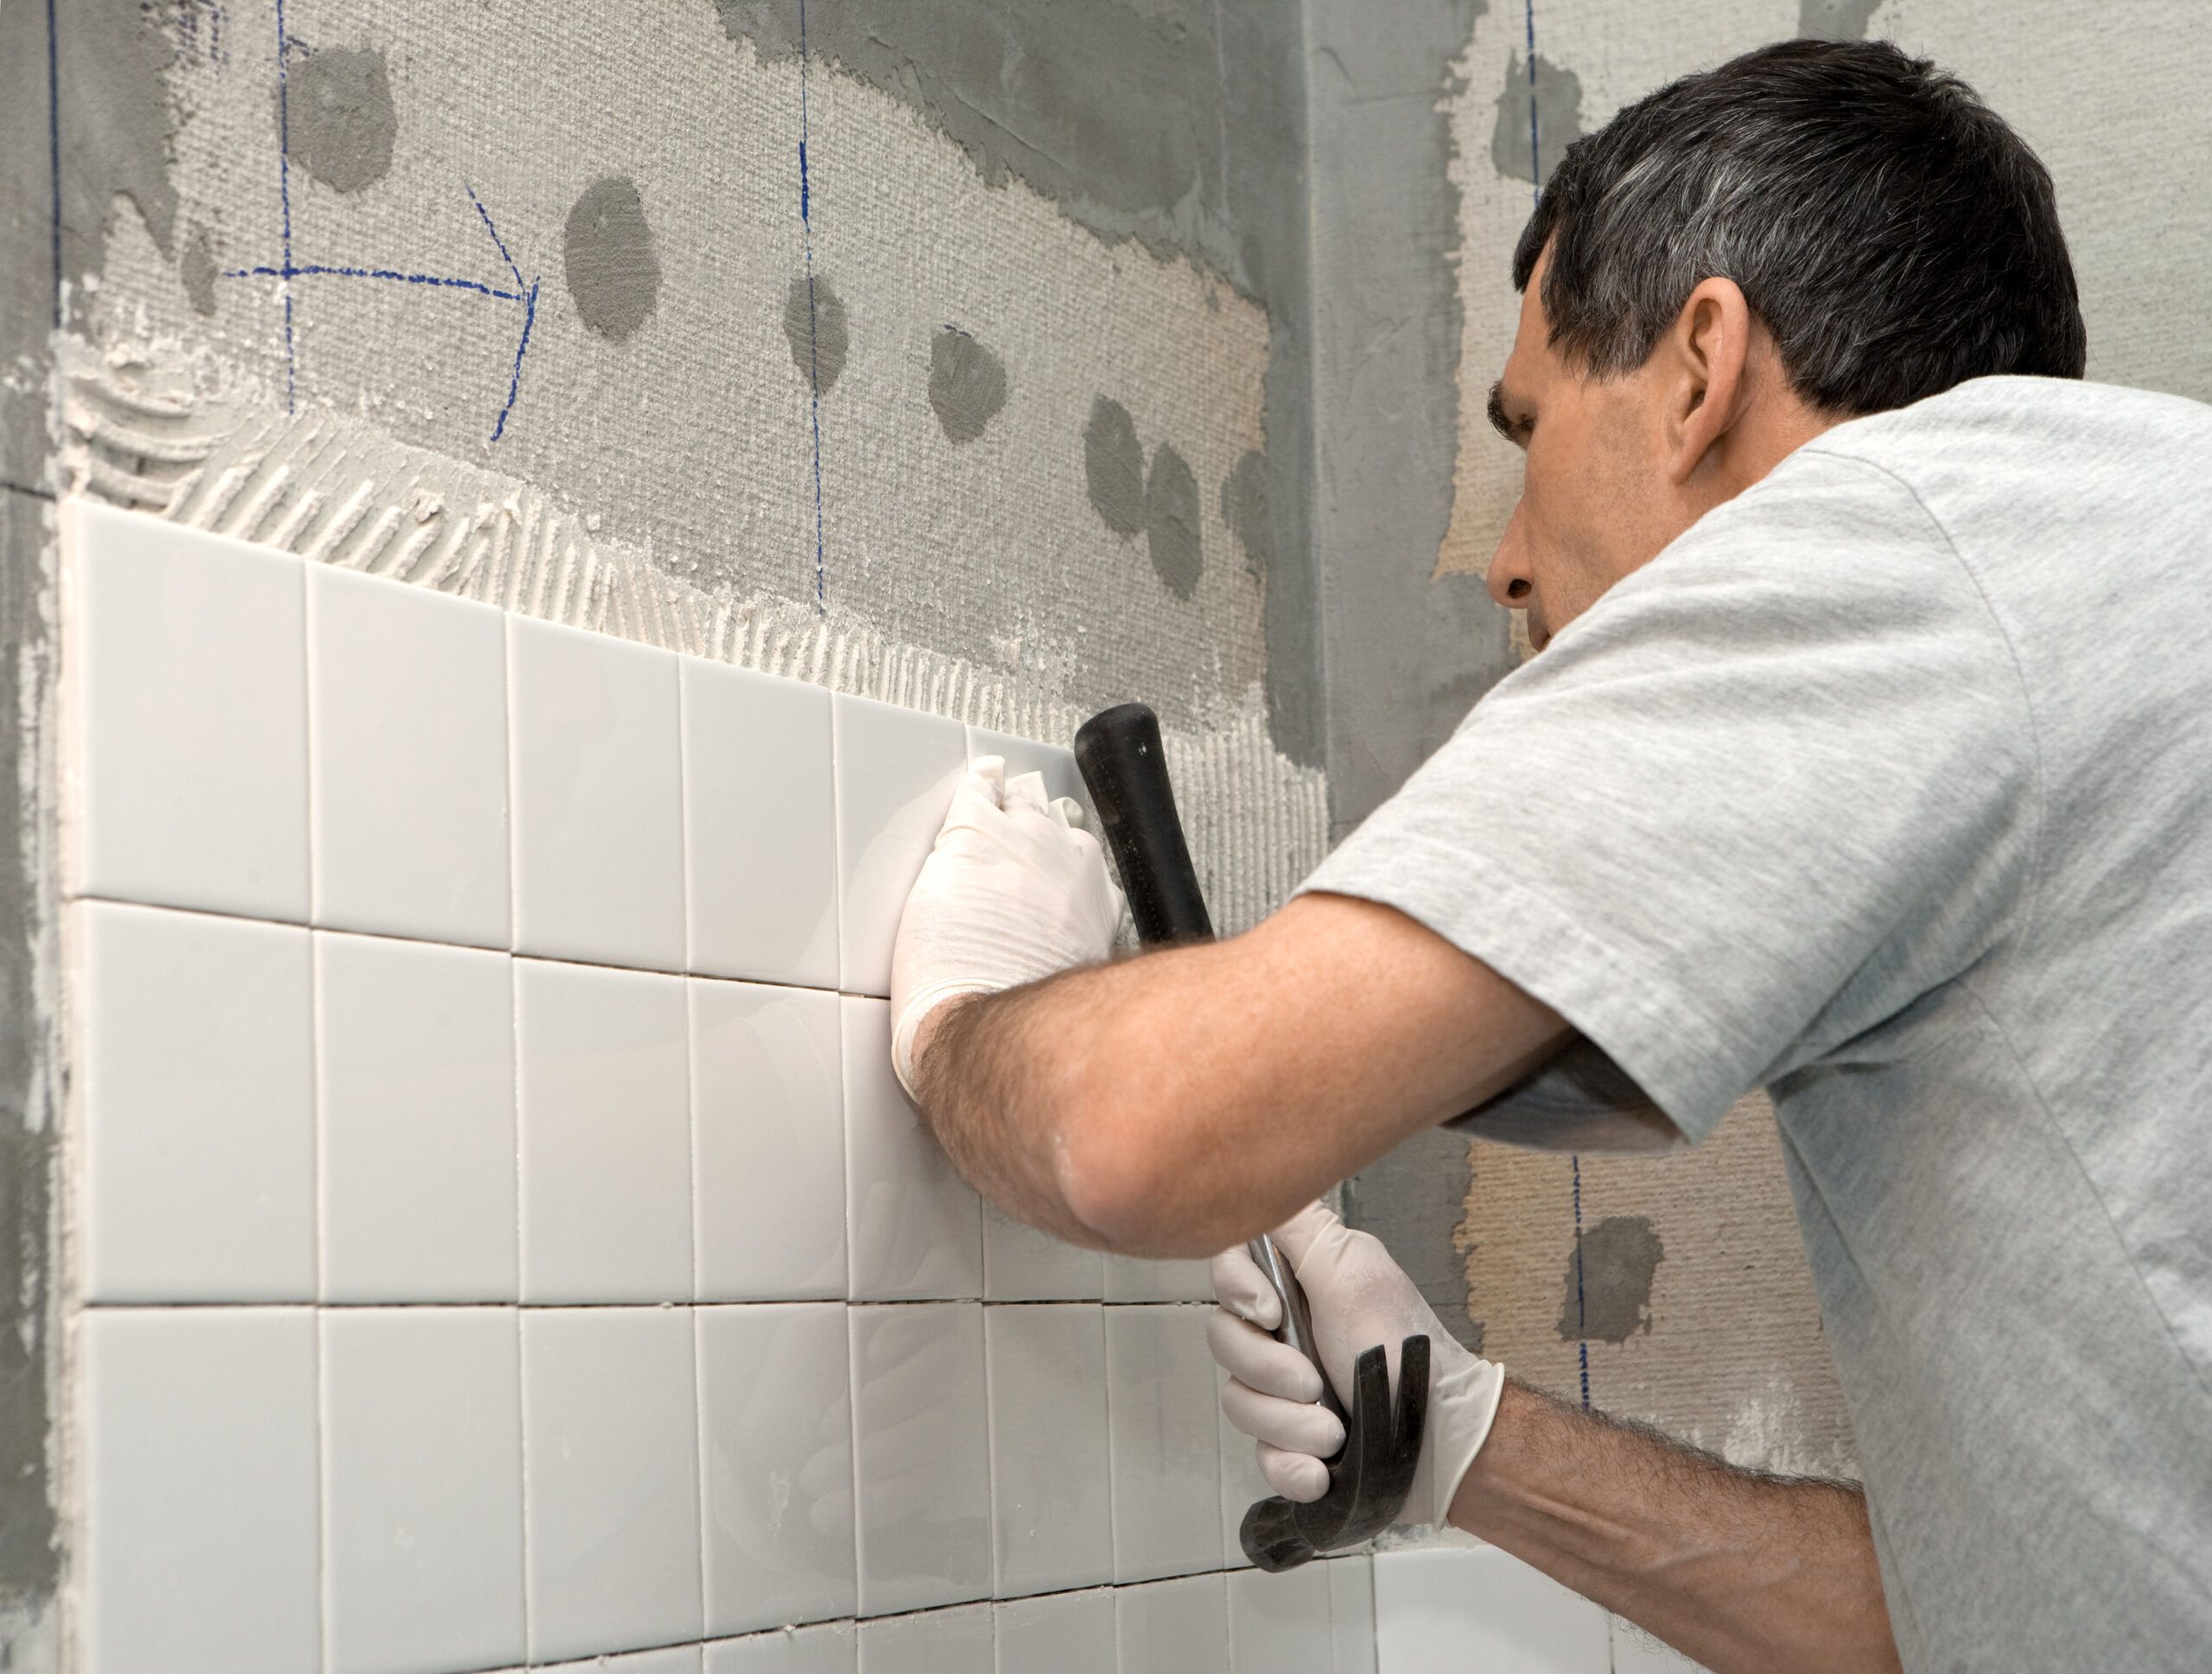
One way of ensuring the tiles run symmetrically on the wall is to try using a ‘gauging stick’ to mark out where the tiles will need to be placed. This is where the *timber in the tool list comes in. Lay the timber (which should be just over half the width of the wall) and put the tiles and spacers along its length and mark with a pencil. A second piece is used to place tiles widthways.
Measure the width of the wall and draw a vertical line at the midway point. Do the same for the height. Use the ‘gauging sticks’ to mark out a grid where the tiles will start and end. Adhesive is applied to the tile and tiling starts at the bottom of the wall, working in an upward direction, not forgetting to cut any tiles required before applying adhesive.
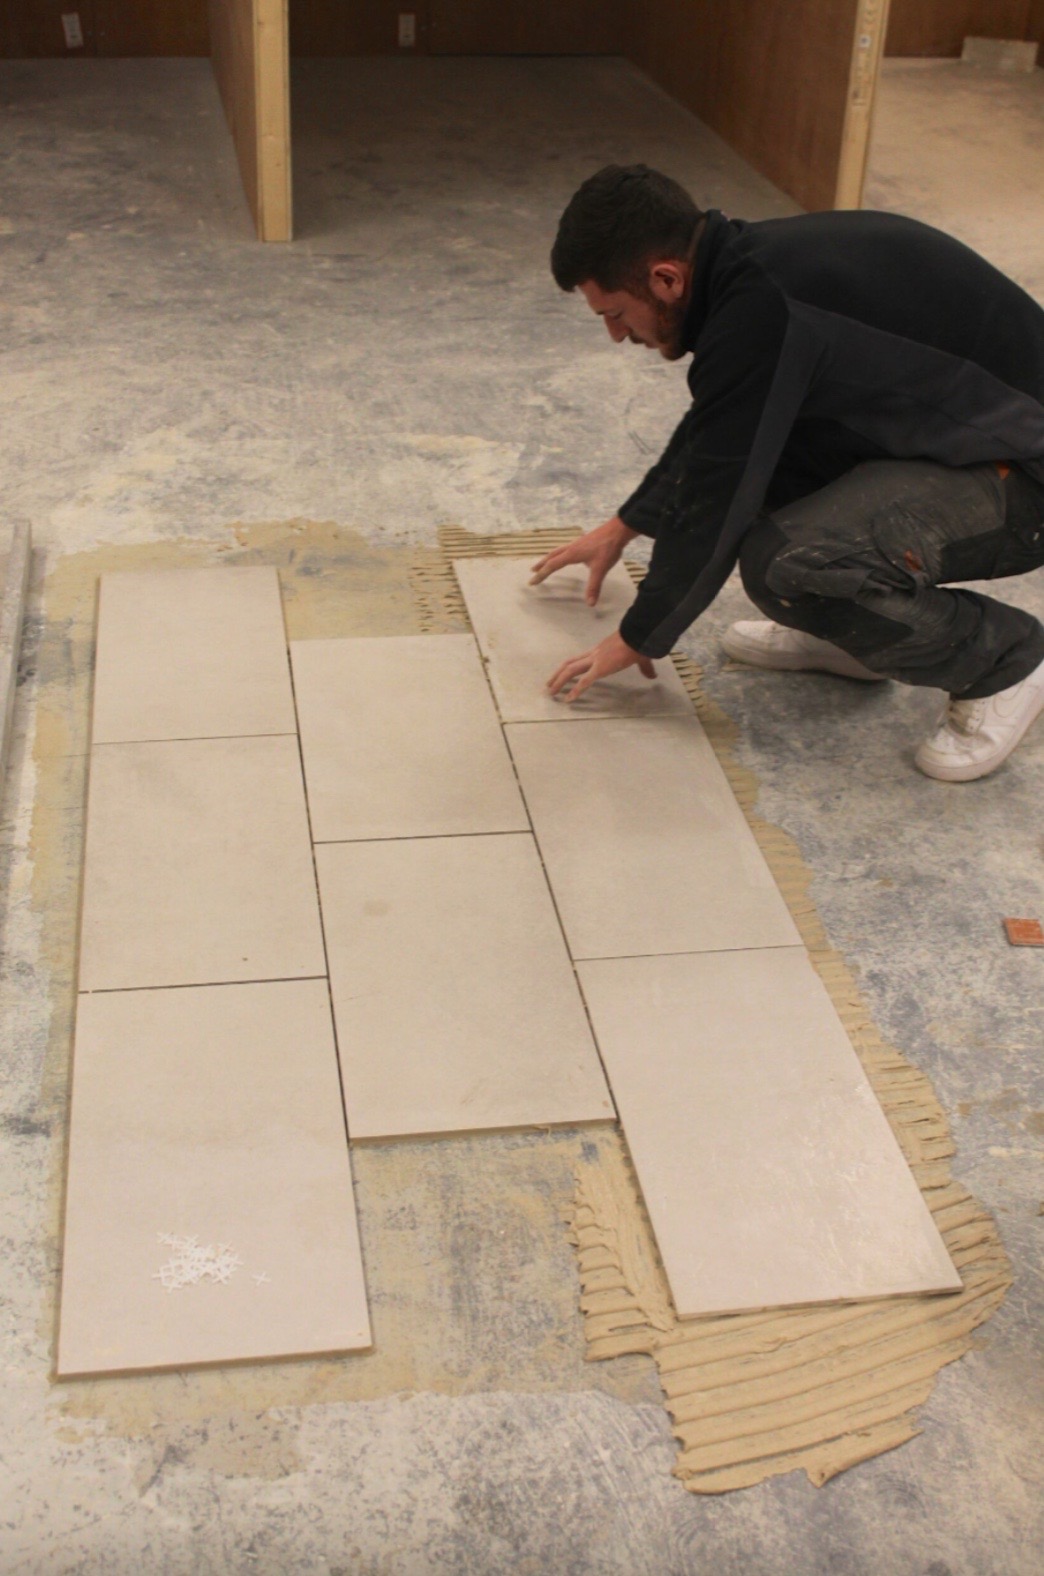
For the floor just as for the walls, preparation is all important. Ensure the floor is clean, dry and level. If the floor is constructed using floorboards it will need to have something like a ply covering to level it.
Using the same method of measuring to find out the midpoint of the floor as for the wall and start by dry laying the tiles working outwards towards the wall or first piece of bathroom furniture (bath, loo or sink pedestal). Mark the position of the last complete tile and draw a line from one end to the other. Lay your tiles along this line (you could use battens if working on a plywood base) checking regularly the tiles are flat and straight.
Cutting tiles around those awkward shapes.
Depending on your chosen tiles you can use a tile scorer or a tile cutter. For porcelain or natural stone tiles over a 15mm thickness a tile saw is better. And for those awkward curved cuts around a toilet or a pipe you can choose a tile nipper or tile saw to create a neat curve. If you don’t have a contour tool or layout tool then make a card template to mark out on the tile where the cut needs to be and remember to wear safety goggles!
After grouting and cleaning the tiles, your finished bathroom will look amazing.
About Author