Tiling Around A Window
Tiling large, flat space can seem straightforward, but its the slower, tricky areas, like around windows which could ruin the finish if care isn’t taken.
Windows present us tilers with a whole set of potential problems. Inevitably every tile around the window, and in the window reveal, will need to be cut. These cuts are the most important you will make, as tiled walls and reveals around a window, which aren’t square with the frame, will draw a critical eye from anyone walking into the room.
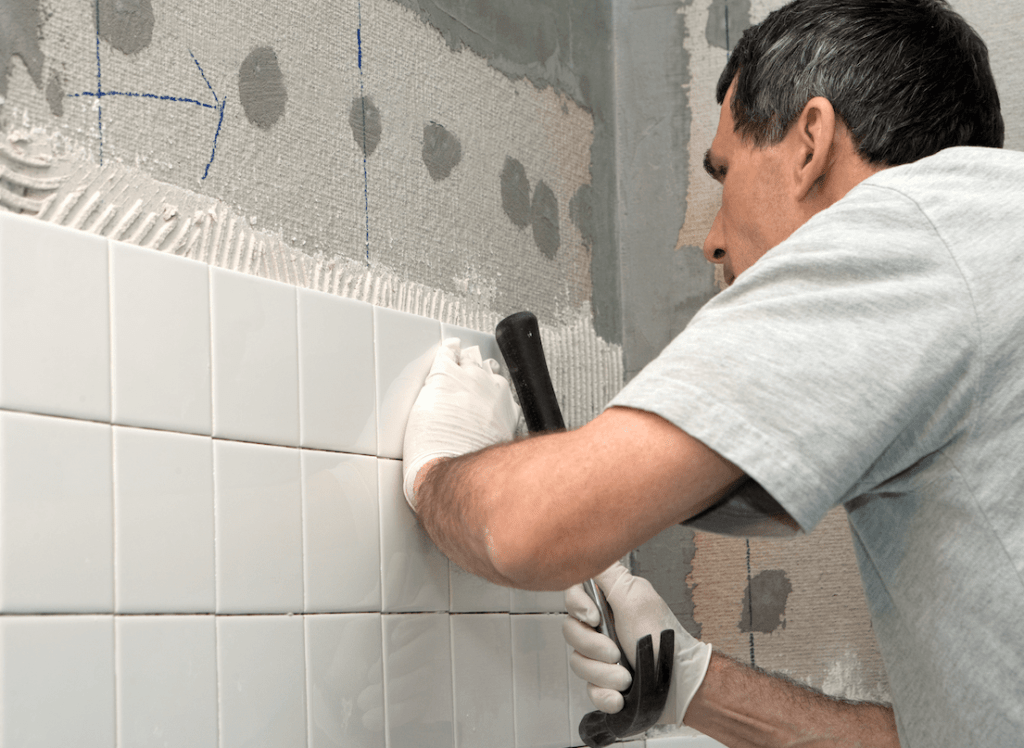 Symmetrical tiling
There will be very few occasions when a window doesn’t look best sitting central to the tiles around it. Find the centre point of the window recess and use a wooden batten or similar as a temporary support as you work. If there is no sill, the lower edge will need to overlap (the thickness of a tile plus adhesive) to be able to fit the trim flush and square.
Laying the tiles
Work outwards. This way you’ll be starting with whole tiles, giving a much fuller, less ‘bitty’ look when finished. Remember, on all reveals, allow for a tile plus adhesive on the facing wall. Accuracy is so much more important than speed. Very few window reveals will be square, take time to measure all surfaces and work out which is the truest. Take your levels and measurements from the best surface and vary adhesive thickness to match the other sides. For complicated, multi sided cuts, its best to make jigs and get them 100% accurate before tackling the tiles themselves. Time spent getting this stage right will pay dividends and guarantee customer satisfaction.
Using trim
Wherever possible, use a decorative trim to the angles of the window recess. This not only gives a slick, professional finish, but also allows unsightly cut edges to be hidden from sight. The trim will need to be absolutely true, both vertically and horizontally. Mitre the joints at 45 degrees for a professional finish. Adhesive can be used to hold the trim in place whilst the tiles are set behind.
The top reveal
Gravity will be determined to play havoc with your beautiful tiling around the window. Be prepared before applying adhesive. Check and double check all the cuts and trim lengths. Using a board, or plywood and some supporting battens, the tiles can be stuck with adhesive and then immediately supported. Tiling the top reveal is best done before the sill, meaning you don’t need to worry about disturbing the sill when you wedge your supporting battens there. Take your time, the top reveal should be perfectly parallel with the top of the window.
Finishing off
Tiling around a window can be messy and fiddly, cleaning as you go is essential. Ensure all adhesive is cleaned off before starting to grout, taking particular care around the trim. Grout as normal, but, as we’ve said with the rest of the window project, take your time. A symmetrically tiled window which sits true to the rest of the wall gives an impressive professional image.
As you start planning getting back to work when restrictions are eased, why not consider one of our courses to expand, or just refresh your tiling skills. Get in touch today to find out more.
