The Best Wall & Tiling Advice From UK Pro Tiling
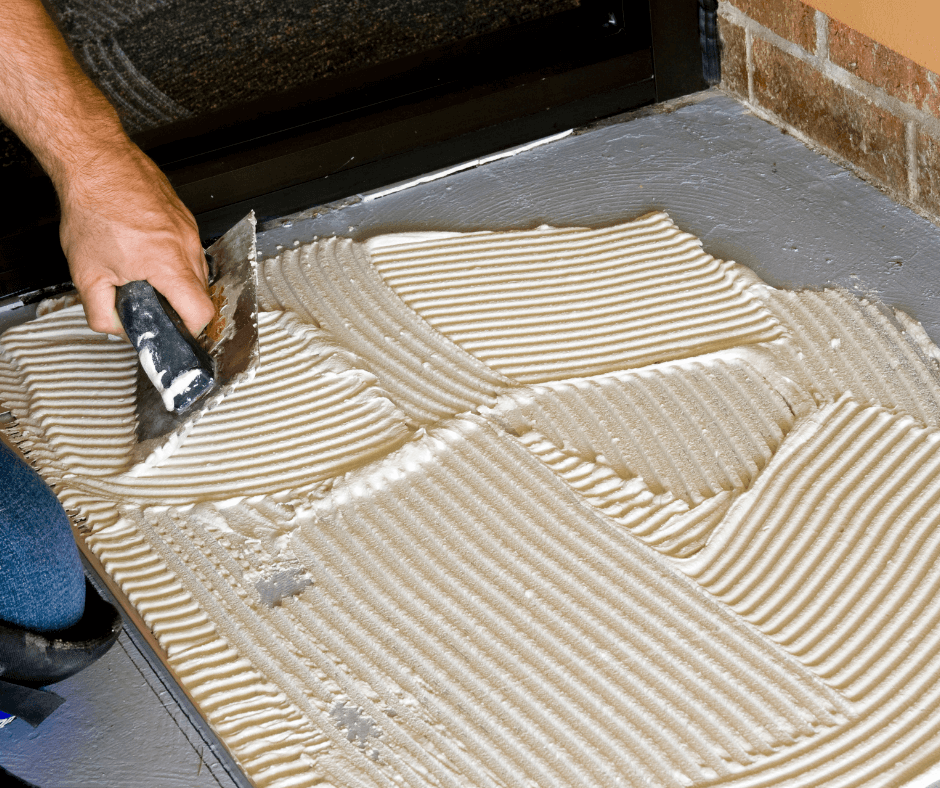
Tiling is one of those tasks that we all think is easy – until we attempt a weekend of DIY. From unstable surfaces to wonky finishes, there are a host of issues that come with tiling. Luckily, with some basic knowledge and tips, you can revamp your bathroom in no time at all.
In this post, we’ll reveal the best wall and tiling advice from UK Pro Tiling.
Planning Tips
Tiling can be a complicated process for beginners, and many forget about the planning aspects of the job. In this section, we’ll reveal some excellent planning tips to keep you on track and ensure you get the best result for your bathroom or kitchen.
Define Your Budget
Before you even think about choosing your tiles, you should decide on a budget. There are so many tile types available, and it’s easy to get carried away. By looking at what you can afford, you’ll be able to find the right design and material for your needs.
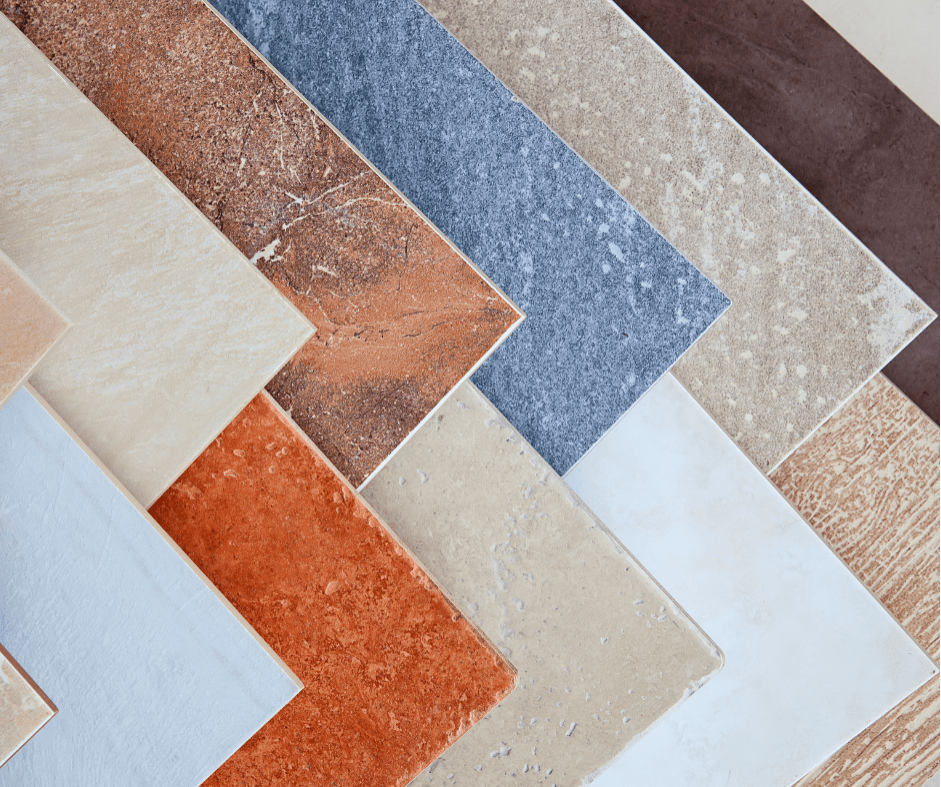
Most people choose ceramic tiles because they’re a cost-effective option and come in a range of designs. If you install them correctly, ceramics enhance the aesthetic appeal of your bathroom without creating a significant dent in your budget.
Natural tiles are an excellent choice if you’re going all out and want a luxurious bathroom. However, they are expensive, so before you use natural tiles, it’s crucial to think about your experience.
An excellent way to guarantee you’ll stay within your budget is to use a tile calculator. Most DIY shops have them on their website, and they remove any ambiguity about how much you’ll spend.
When you use a calculator, always make sure you add an extra 10% to your quote to compensate for any breakages.
Decide on Tile Sizes
Your tile size is an essential consideration, and both small and large tiles work well in bathrooms. If you have a larger surface area, then large tiles are ideal because they take less time to install and are less fussy.
Smaller tiles create a more uniform and high-end look, but if you’re a beginner, then you might find them too difficult to navigate. Think about your needs and experience before choosing the size of your tiles, and you can be confident that your wall or floor will look as you expect it to.
Choosing a Design
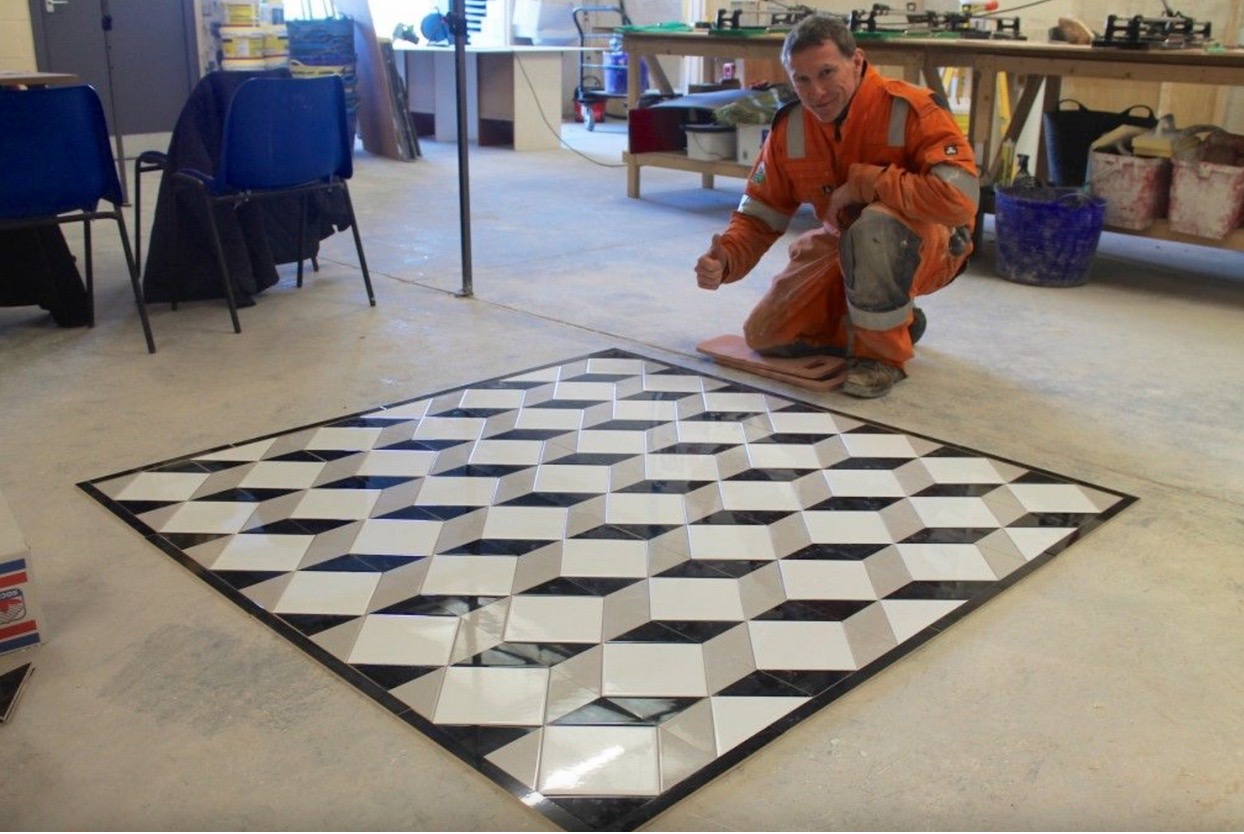
With so many tile designs available, you can pretty much create any look you desire. Popular choices include mixing colours to create a dramatic effect or patterned tiles to follow a particular theme.
Moroccan tiles are trendy because they come in a range of patterns to create an exotic look perfect for any contemporary bathroom. Another popular option s to combine plain tiles with imagery such as dolphins – which is particularly popular for family bathrooms.
Whatever you choose, make sure you’ll be happy with the bathroom and design, as it should last a few years at least.
Preparation Tips
Remove Fixtures, Fittings and Waterproof Your Walls
The last thing you want is to be handling paste and removing wall fixtures and fittings such as screws at the same time. Before you begin tiling, make sure the area is free of any obstructions, including old plaster.
You should also make sure you remove any moisture from the walls and floor so the tiles will stick properly.
Prepare The Surface
Unfortunately, many people find that the surface they plan to tile on is uneven, which causes many problems. You can identify bumps in the wall or floor by placing a large ruler or wooden plank on the wall and running it across the surface.
One option is to install new drywall to create a uniform surface, but this takes a lot of time. You’ll need to let the surface dry completely, so it’s not ideal if you want to complete the job in one weekend.
The most effective solution is using tile board backers. They’re durable, create a uniform surface and are great for preventing moisture. The one issue? They’re expensive – but an excellent investment for a bathroom that lasts for years.
Make Sure Your Tile Adhesive is Suitable
Beginners usually choose ready-mixed tile adhesive, but professionals use powder. While the mixed bond is easier to handle, it doesn’t have the durability that powder offers, but that doesn’t necessarily mean you should head straight for the powder.
If you’re a complete beginner, then you’ll probably achieve better results with ready-to-use adhesive because you might struggle to get the right consistency with powder. If you’re more comfortable with pre-mixed adhesive, then it will still do the job.
An alternative is to consider learning how to tile from professionals. Whether you want to complete DIY jobs or think about a career change, there are many tiling courses to choose from.
Laying Your Tiles
Laying your tiles is the final step, but it’s also the trickiest. As long as you stay focused and keep the area stable, you’ll be able to complete the job. There are two major things you need to consider when you lay your tiles.
Use a Straight Edge to Keep Things Even
Imagine spending ages laying your tiles only to discover that they’re wonky! Believe us; it does happen. Luckily, there’s a simple solution to keep everything uniform; use something with a straight edge.
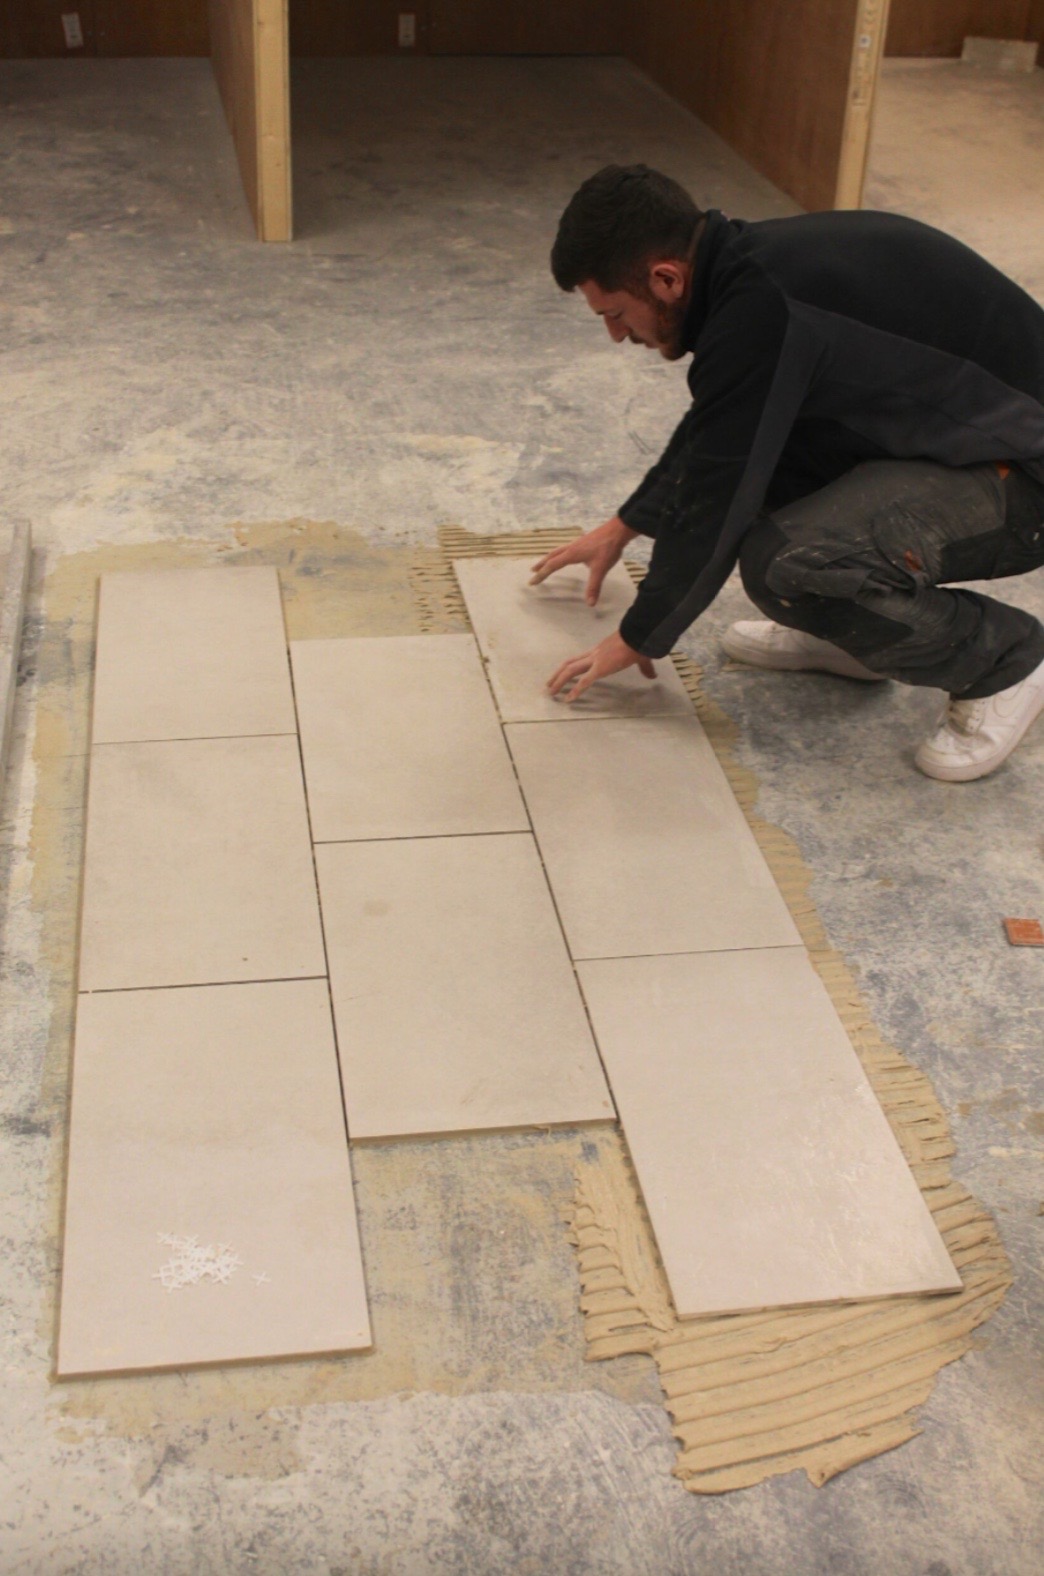
If you’re tiling walls, you should start at the bottom and work your way up, making sure each tile lines up perfectly. Boards are ideal for floor tiles, as they don’t disappear underlines of chalk or pencil.
Clean As You Go
You should never leave cleaning until you lay every tile because it can cause more issues down the line. Adhesive sticks fast, and it has to be strong to secure each tile, so try to make sure you remove any residue after each tile.
Utility knives are excellent removal tools, and they’ll cut through any excess adhesive. If you leave the clean-up until after your tiles are complete, you run the risk of residue staying on the tiles, impacting the overall look.
Is your home missing some luxury? Check out our blog on laying luxury tiles here.
