Preparing Walls For Tiling
As you get ready to tackle that tiling job, it is worth spending time to make sure the surface is
perfectly prepared. Some care and attention now could avoid the inconvenience and
embarrassment of being called back later on.
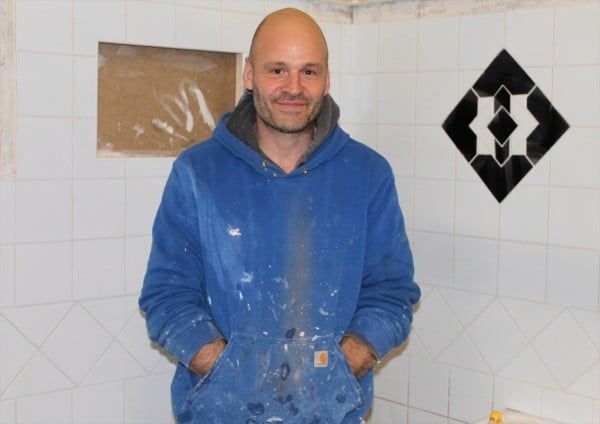
Some simple checks.
- Check for signs of wall hangings, old hooks, screws or nails. Remove these as carefully as possible without damaging the wall surface.
- Remove all loose plaster. Don’t be tempted to leave anything that is remotely flaking. Tapping the wall will produce an echo if the plaster is coming away from the wall.
- Check the wall for upright and how flat it is with a straight edge.
- Double check dimensions to see if the walls and floor are square.
- Use a spirit level to establish the starting level at the floor.
Levelling the wall.
Remember that rendered brickwork is unlikely to be flat and level. Cracks can be filled, use two
layers for deep fills. If there are only a few cracks and imperfections, then simply repairing these
areas should be sufficient. Once all the layers of filler are dry, it is worth sanding down any excess to
completely flatten the wall.

Lumps and dents of a few millimetres should be absorbed into the layer of adhesive, but it is still
better to try and fill or sand them. Adhesive depth is crucial. Too thick and the weight of the tile
could pull away from the wall over time. Too thin and the bond might not be strong enough. As
we’ve said, some time and careful attention could save a lot of trouble in the future.
Patches where loose plaster have been knocked off could be skimmed with a one-coat style filler or
plaster and then sanded down once they are dry.
Old painted surfaces can also be tiled if the paint is sound and secure along with appropriate
primers, such as SBR.
Preparing new surfaces.
If a wall is freshly skimmed, then it should really be left for 2-3 weeks or so to ensure it has
completely dried out then primed with SBR and tiled. As discussed in one of our previous blog posts,
it is possible to tile over existing tiles however there are restrictions to this such as weight ratios,
how well the original tiles are fixed and the surface condition below the tiles, these should all be
taken into account. New plasterboard can also be directly tiled onto, just SBR primer and then tiled.
With plasterboard, it is important not to overload the wall, always check the weight limits of the
board with your supplier. In bathrooms, an aqua board or cement board will avoid the wall swelling
over type due to the humidity in the room and has a much heavier load capacity.
Surfaces to avoid.
Try to avoid tiling directly onto heavy stonework, Brick or blocks, untreated timber, particle boards,
MDF or engineered wooden flooring and laminates. It is always preferable to either batten off the
wall and board it or render and plaster to create a perfectly flat surface for your tiles.
For all of the skills listed here, in fact for all of your tiling skills get in touch and sign up to one of our
courses. From beginners to old hands wanting a refresher, we’ve got courses for everyone.

