Preparing A Surface for Tiling: Tips and Techniques
If you’re ready to upgrade your space, whether it’s a big room or a small alcove, tiles are an excellent way to revamp your home’s look.
But it’s not as simple as throwing a few tiles on the wall and calling it a day. Prepping your surface is crucial to ensure your new tiles look great and last for years. From thorough cleaning to using the right adhesive, your tiling job is going to be much more successful with a good foundation to work with.
We’ve got why prepping a surface before tiling is critical to success, and a step-by-step guide to ensuring your tiling is the best DIY job in your home.
Let’s dive in.
Why does a surface need to be prepared before tiling?
Surfaces come in varying qualities, so preparing them as best as possible before tiling ensures a maximum chance of success.
A fully prepared surface means there’s less chance of the tiles breaking, slipping or cracking after placement – and your hard work can stay preserved for longer. A properly prepared surface can also help to prevent moisture from seeping underneath the tiles, which can cause damage over time.
Taking the time to prep the surface before tiling can also reduce maintenance in the long run. Grout replacement or tile reinstallation won’t be as frequent on a fully prepared surface before tiling.
And, of course, a properly prepared surface will have a more aesthetically pleasing finish. The tiles will be properly aligned and evenly spaced, and the grout will be sealed and protected from any dirt and grime getting in.
A step-by-step method for prepping any surface
So now you understand the basics of why we prep surfaces before tiling, let’s move on to the process you need to ensure your next tiling job is a success.
Here’s where to start.
Plan the layout
Planning ahead before you begin will save you time and money when it comes to preparing a surface for tiling. Measuring the surface area and budgeting for the materials accordingly will help you stick to a budget.
You’ll also need to account for the tile material and its thickness, what kind of spacing you need and whether a pattern is needed. Once you’ve decided the details, your tiling project will go more smoothly.
Clean surface thoroughly
Even if a wall or floor looks clean, hidden dirt and grime usually compromise the quality of your tiling job if not taken care of beforehand.
Sugar soap is one of the most effective ways to clean a surface before tiling. Available from most DIY shops, it’s a powerful cleaning solution that is specifically designed to remove grease, grime, and dirt from surfaces.
Once you’ve wiped down the surface with sugar soap, be sure to let the wall or floor completely dry before moving ahead.
Repair any damage
A damaged surface can compromise how well the tiles stick, so making any repairs needed before proceeding is vital. Cracks and holes will need to be patched with filler, while an uneven surface might need a thin layer of plaster to make it workable.
Sometimes a surface is too damaged to work with. If the surface is severely cracked or crumbling, it may need to be replaced entirely before tiling can begin. You should call in professional help as needed to solve the problem.
Make the surface level
If you’ve added some self-levelling compound to make the surface smooth, you may need to do some extra prep, like sanding, to give you the best possible surface for tiling.
If you’re working with existing tiles that you need to tile over, you either need to use a chisel to remove them or grind down the surface, so it’s rough enough to hold new adhesive.
Time for primer
Once the surface is fully cleaned and repaired for tiling, you can add some primer to it. Applying primer will help the adhesive to stick better to the tile, making the finish last longer.
The type of primer used will depend on the surface being tiled and the adhesive being used. Be sure to check the manufacturer’s instructions before using. You may need to apply more than one coat of primer, depending on the type of surface being tiled and the adhesive being used.
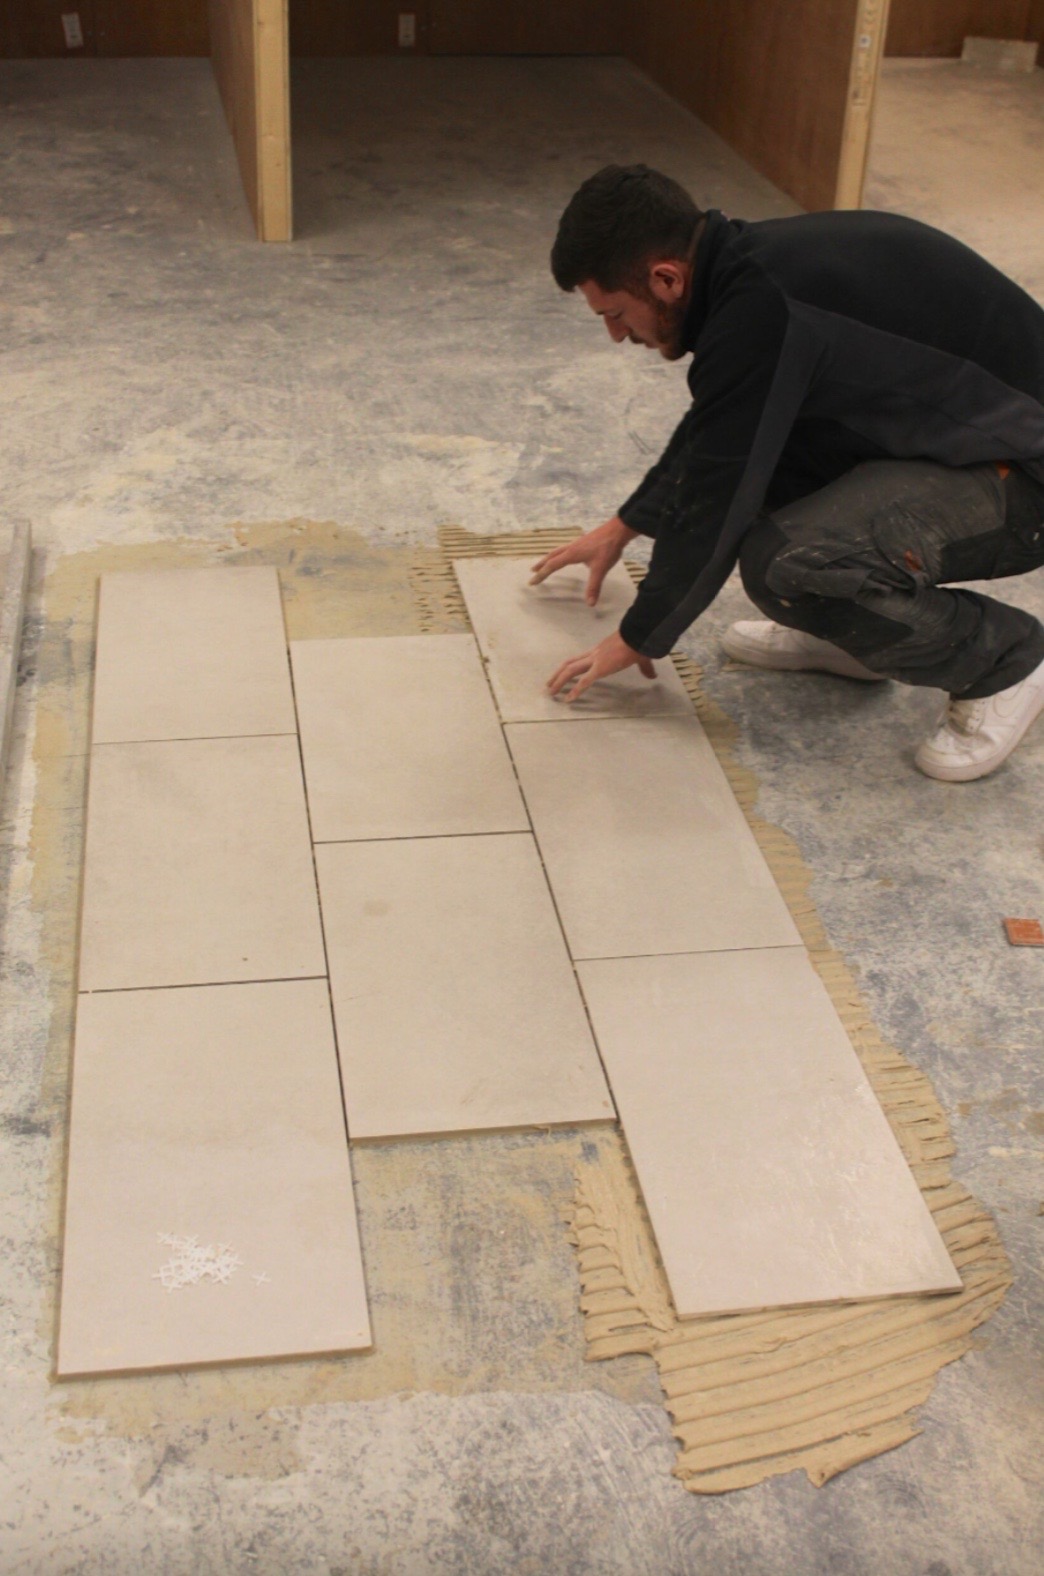
Apply the adhesive
The adhesive is literally the glue that holds everything together with tiling projects! If you can nail the adhesive application, you’ll have a great tiling job.
Beware: different adhesives are designed for use with different types of tiles and surfaces, so do your research ahead of time before you tile. Use a trowel to apply the adhesive, and smooth out the glue to ensure there are no air pockets or gaps between the tiles and the surface.
You might have excess adhesive while you’re applying the tiles to the surface. Using a damp sponge or rag, you can wipe away any excess as you work.
Seal the grout
Once you’ve grouted the tiles, it’s important to seal it closed. Grout is a porous material that can absorb any moisture or dirt over time, so sealing it helps to prevent discolouration and staining.
Apply the sealer to the grout lines, taking care not to get any on the tiles themselves. Use a small brush or roller to apply the sealer evenly, working in small sections. After the sealer has dried, you can apply a second coat if desired. This will help to ensure maximum protection for the grout.
Now you have a fully prepped and beautifully finished tiled surface, which not only looks great but will stand the test of time.
Wrapping up
Preparation is key to ensuring you have a successful and long-lasting tiled surface. With our tips and tricks, you’ll tackle your next tiling project in no time.
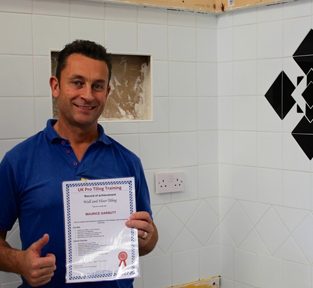
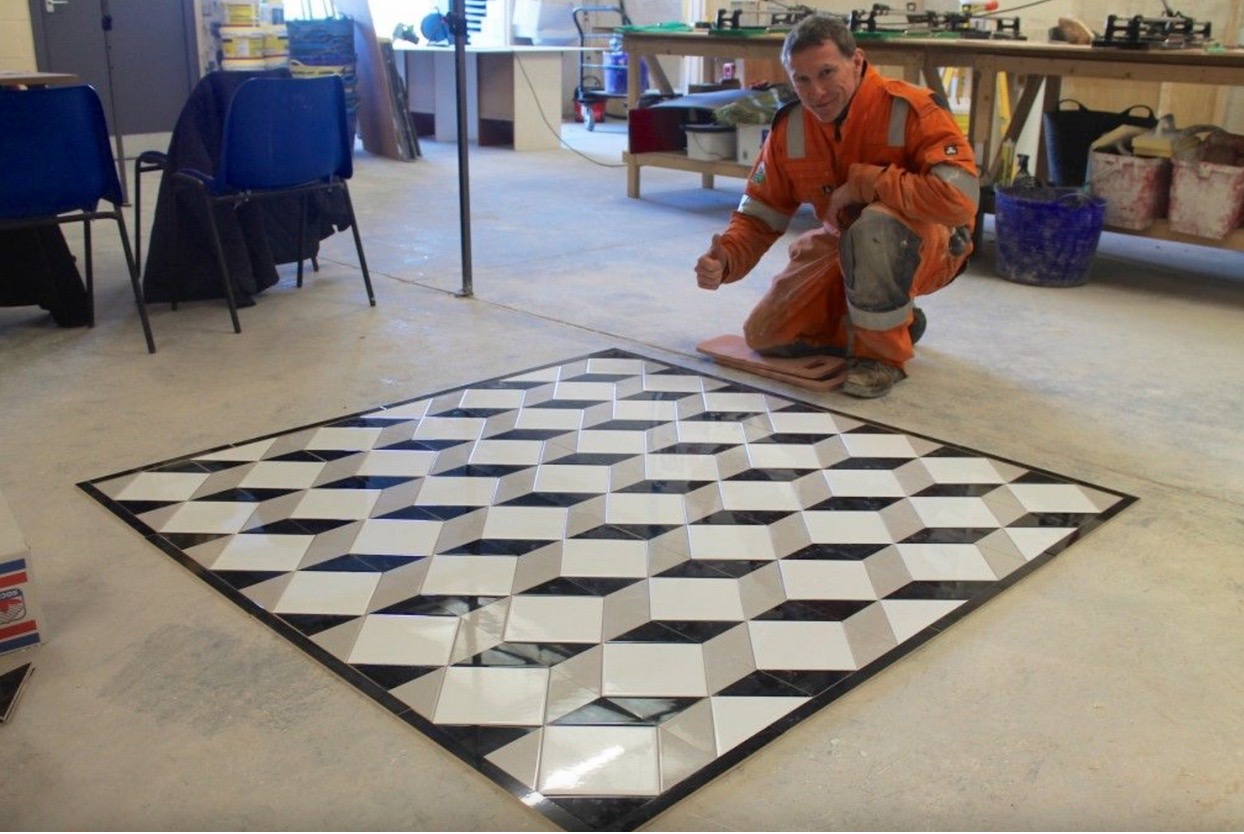
Thinking about making tiling a full-time thing? Our NVQ tiling courses are great for those just starting out in their career, while our professional tiling course is an advanced crash course that will have you from DIY to professional in no time.
About Author