Entrance Appeal – A Tiled Hallway
How else to make real impact at the front door than with a beautifully tiled hallway. Both a chic and practical entrance to a property being hard wearing, durable and with a resistance to muddy and wet footprints.
 Using floor tiles, either plain or patterned in the hallway will need careful preparation and planning. Most floor tiles are larger than wall tiles and most importantly choose a tile that has a non-slip finish. The style and type of floor tile will depend on the property and client choice.
With the floor measured and tiles chosen, prior to preparing the floor remember to wear heavy duty gloves and safety goggles, the removal of old tiles or getting the floor ready for applying the tiles may have shards of old tiles, large splinters etc. that could cause damage to hands and eyes. So, in the preparation of the hallway floor it may require some form of levelling and cemented backer board if the floor isn’t even or have a concrete base (tiles can be laid on any dry concrete level base). But if this isn’t the case it will be necessary to ensure the floor is levelled and suitable.
Can you lay new tiles over an existing tiled floor? It is possible and essential that the tiles are firmly laid if so. If the floor has a vinyl covering, ensure the surface is coated with a primer. For laying the tiles, choose a specific adhesive necessary for the floor type – for example if the floor is a wooden floor or concrete. Equally, if the floor to be tiled is of a wooden/timber construction then it may be advisable to strengthen it by using an appropriate plywood (an exterior grade ply would be best).
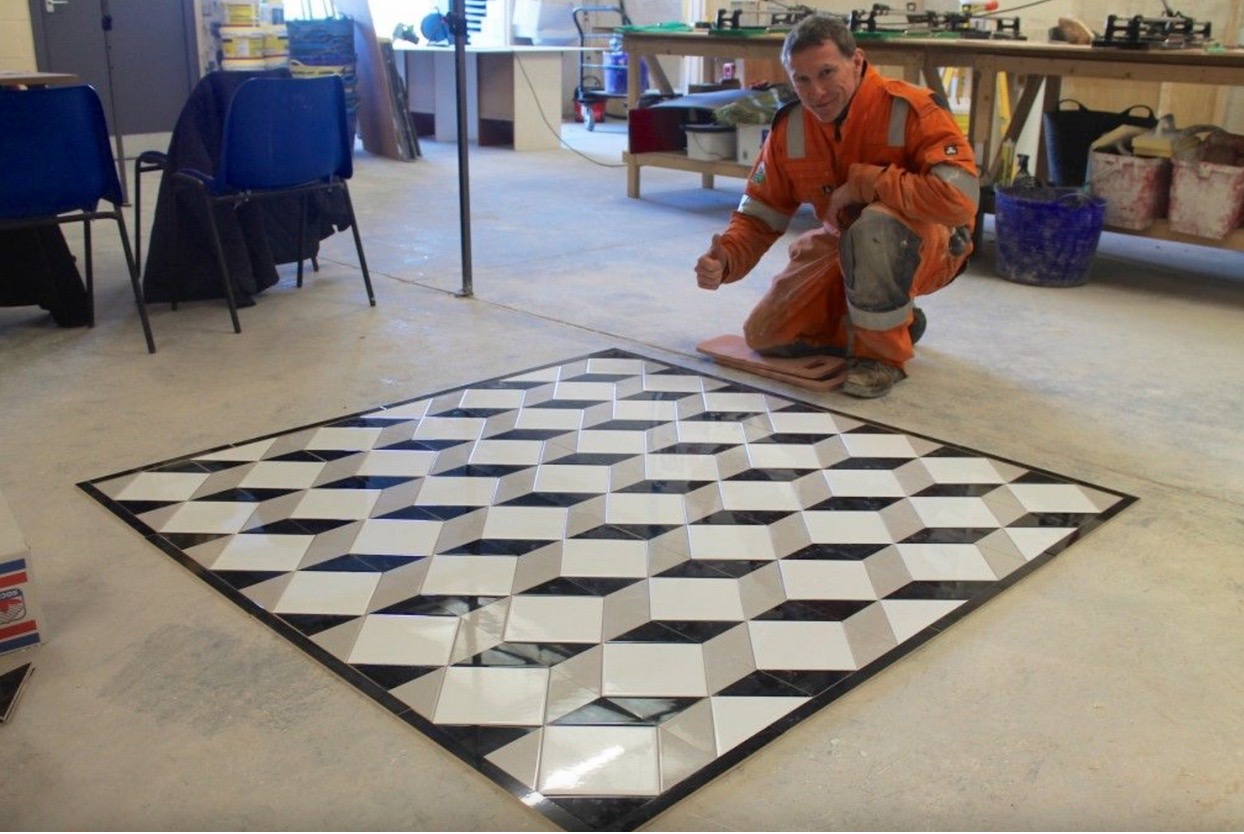
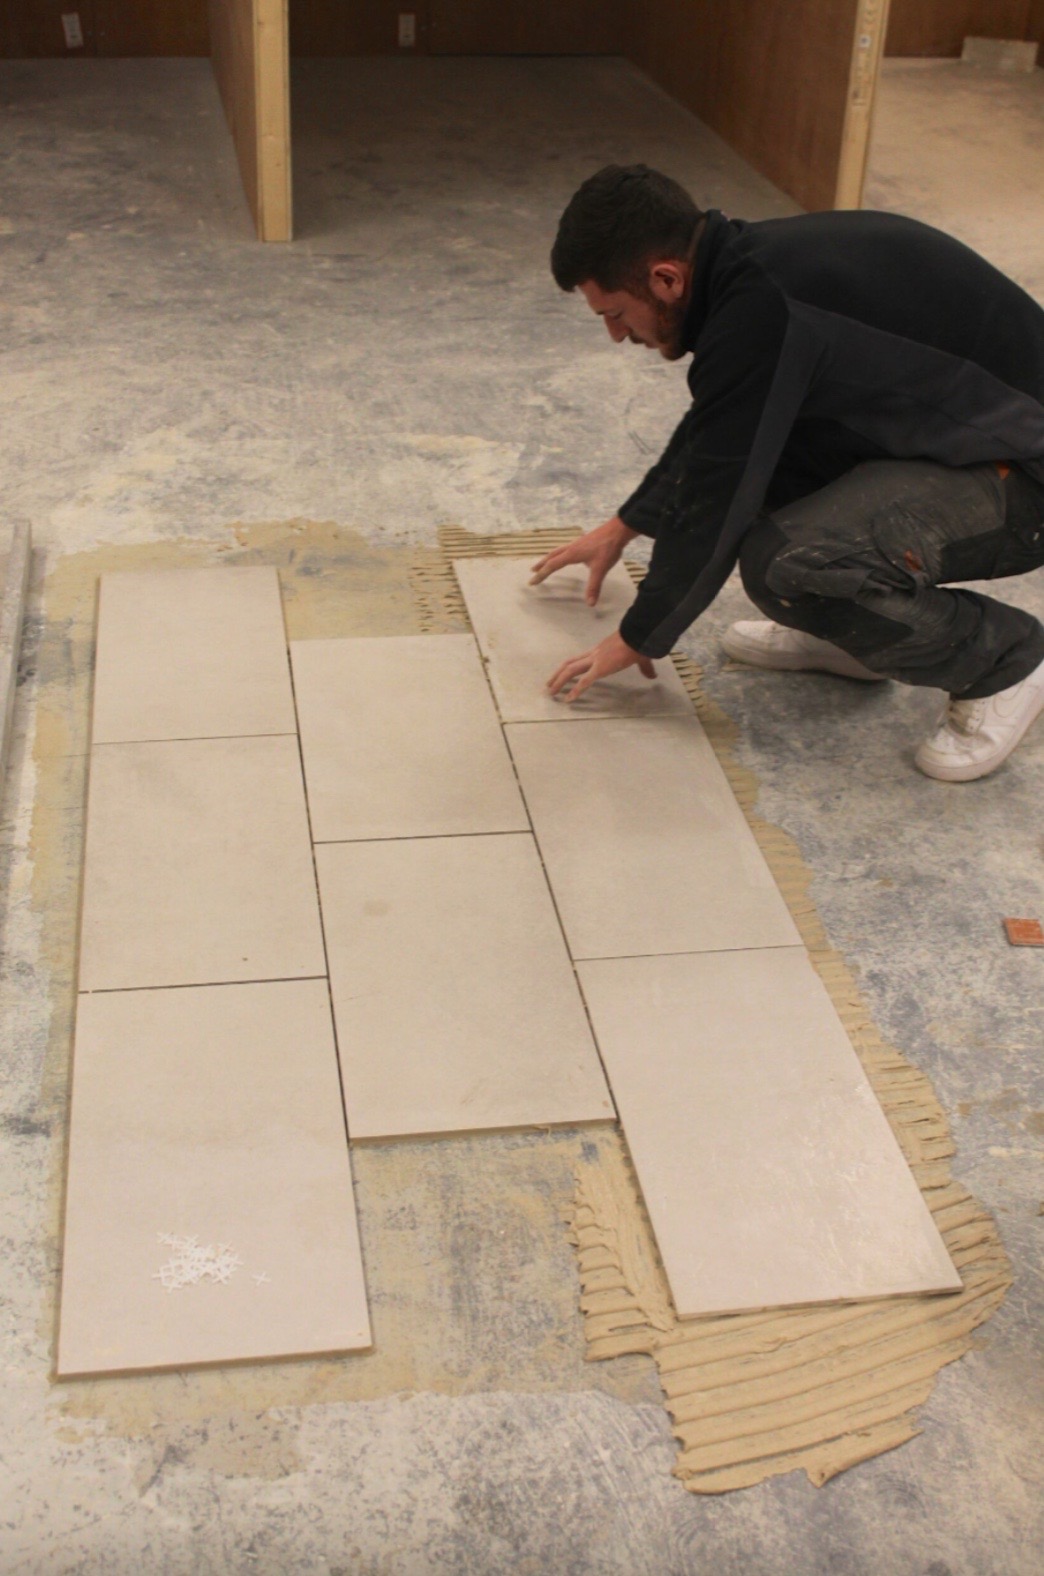
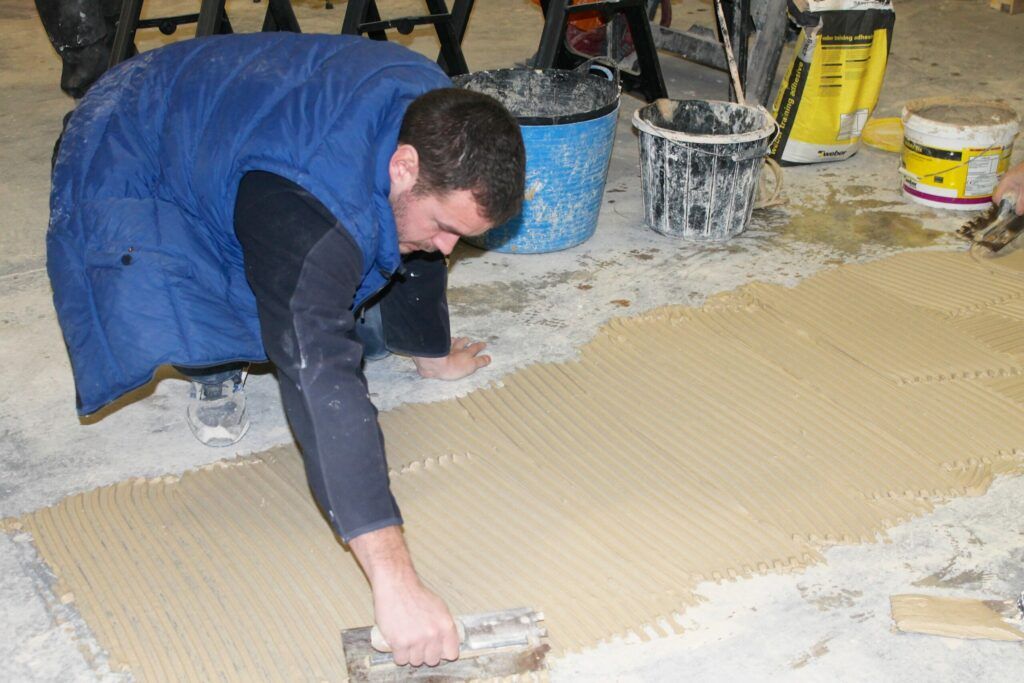
Once the floor is prepared, laying the tiles out is the next step. Dry laying using the key tile (that is the first tile that will be laid ) will set the rest of the layout. It is usual to start as central as possible so the key tile will be laid in this central position, followed by laying a row of tiles from the centre to the wall. This will give you an idea of what the floor edges will look like. Preferably, there shouldn’t be a small slither of tile at the edge, so if this is the case, move the tile line so that you have an even and equal edge on both sides. From this point continue the dry laying leaving a gap of around half a tile around the edge of the hallway these will need to be cut to size. For an immaculate and professional finish, take the chosen adhesive for the floor, spread around a metre of the adhesive evenly, working outwards to the hallway wall and ensuring that the markings that indicate the position of the key tile are still visible, and lay the tile. Tile spacers can be used and with the first tile in position continue at right angles across the floor ‘criss crossing’ the key tile and checking the level of the tiles regularly.
Once your floor is covered leaving only the edge tiles to lay, make sure excess adhesive is cleared from the edges to ensure a level finish. Apply adhesive to the edge tiles and not the floor to lay them. Finally use a well mixed grout appropriate for the tiles used and finish off the hallway corners with a flexible sealant matching the grout. After removing and leaning off any excess grout and whether the hallway is tiled with patterned or plain tiles, the final finish will be impressive, long lasting waterproof and damage proof. Perfect.
About Author