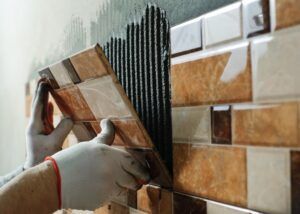
How To Grout Floor Tiles
Whilst it sounds extremely simple, grouting floor tiles isn’t always easy. What’s more, when the job’s not done right, the floor doesn’t look right! You can choose the best looking tiles in the shop but if you make a mess of the grout, they won’t look good.
It really is that simple.
What’s more, mistakes when laying grout on ceramic tile can be costly.
Professional tilers simply cannot afford to make mistakes when grouting floor tiles. After all, they would not be able to charge customers more money because it has taken them longer to fix their own mistake.
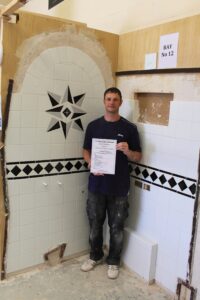
At UK Pro Tiling Training, we train our students to become efficient tilers and credible in the trade. Tilers who have trained with us will know exactly how to grout a floor.
In our opinion, it is imperative that professional tilers are 100% confident when grouting tiles before agreeing to lay a customer’s floor.
This is because, when done right, a professionally-laid, tiled floor looks incredible.
So, how can professional tilers ensure that they apply the grout in the best way possible for a fantastic finish?

Here are a few grouting floor tiles tips:
Don’t overlook the following guidelines on how to put grout between tiles!
Make sure the old grout is removed (if re-grouting an existing tiled floor)
Additionally, make sure there is no dust or debris in the joins. If you are planning to grout a new floor, make sure the thinset mortar is fully dry before starting. The brand packet/tub should specify how long that particular choice of mortar takes to cure.
Choose a grout colour that matches the tiles
It is best to choose a grout colour that suits the tiles for the project so that the grout blends into the floor pattern.
Don’t just use the last tub of grout you opened! For the amount a customer is investing in the entire floor, an extra pot of grout won’t make a huge difference.
A professional colour match finish will make 100% positive difference though!
Will you opt for sanded or unsanded grout?
Sanded grout is generally stronger than unsanded grout so maybe a good choice when it comes to flooring. Sanded grout is necessary for tiled flooring with wider joints.
Will you mix your own or purchase ready-made grout?
It is recommended to mix your own grout when tiling floors as ready-made grout tends to have longer drying times than grout you mix yourself. Ready-made grout relies far more on having decent access to air.
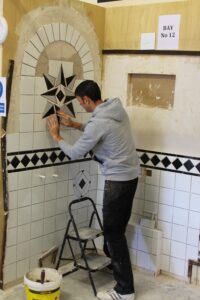
Work in a small area at a time
Don’t overwhelm yourself with grouting the whole floor immediately. Instead, work in small areas at a time and focus on making sure the grout fills the whole area between the tiles. It is best to start in an area furthest from the doorway and make your way out gradually.
Keep all your equipment close to the area that you are working on for ease. That way, you’re far less likely to tread grout or grout powder on the newly laid tiles.
Work at a 45 to 90 degree angle with the grout float
When spreading the grout into the joins and removing any excess grout from the tiles, make sure you’re holding the grout float at somewhere between 45 to 90 degrees.
This ensures for optimum efficiency.
Wipe the tiles with a damp sponge before leaving grout to dry
Clean the tiles to make sure there is no leftover grout on them. This will help achieve a shiny and professional finish at the end of the project.
Top tip: You can hair-dry a small segment of your floor to check that you have the right colour grout. Grout cannot be removed easily once dry.
Make sure the grout is dry before applying sealant
As long as all is well with the floor, allow the grout to dry thoroughly.
Make sure you thoroughly wipe the tiles after grouting so that when the grout dries, the tiles remain clean.
Only apply the sealant once the grout has dried, follow the instructions on the grout product you’re using.
If you need some more information on how to grout floor tiles, the contact us at UK Pro Tiling Training.