The kitchen is usually the room in the house that gets the heaviest use in the home.
The back of the worktop is normally finished with a splashback to protect the wall from the damage and debris thrown around.
But this splashback doesn’t need to be simply functional, it can add a stunning visual finish to the kitchen.
What will you use for your splashback? Let us talk you through the best of the many choices out there.
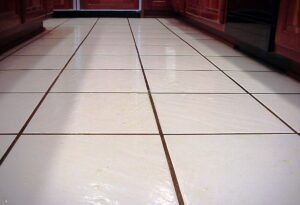
- Tiles
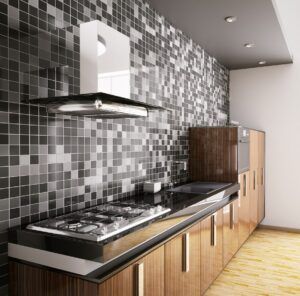
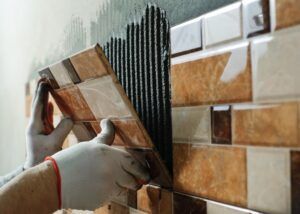
Good old tiles have always been the splashback of choice for many of us. Even with the emergence of new materials and ever changing fashions, tiles are still very popular amongst kitchen designers. Tiles are available in an incredible array of sizes and colours. Tiles can now be digitally printed too meaning they offer the ultimate in versatility.
- Match The Worktop
For an apparently seamless look why not use splashbacks which are the same colour and pattern as your worktop. Your kitchen supplier will normally have these in laminated board to create that block effect.
- Stainless Steel
If you are looking for a splashback which is easy to care for then stainless steel could be the choice for you. It can easily be made to bespoke sizes to suit your individual kitchen. Another twist would be to create your splashback using stainless steel tiles.
- Glass
Another very popular choice is glass. Glass can be coloured or left clear to pick up the colour of the wall behind. Glass can be painted, printed or frosted to create a range of effects. With panels manufactured without joins, glass does a fine job of protecting the kitchen walls whilst being easy to keep clean.
- Aluminium Composite
Made with a polythene core as the filling in an aluminium sandwich. With choices of colours available, as well as a brushed effect, Aluminium offers a great alternative for those on a budget. The brushed effect, particularly, is popular as it mimics the look of stainless steel.
- Acrylic
Supplied in sheets ready to be cut to size, the smooth and glossy finish of acrylic can add a real shine to a kitchen. The way acrylic transmits and reflects light make them great to work with for kitchen designers looking to create unusual visual effects. They can even have led lighting hidden behind them for an even more stunning result.
- High Pressure Laminate (HPL)
For the cost conscious, HPL is a great choice. Available in a variety of colours and has a top coat which is quite tough and resistant to scratches. For best results, these sheets would be attached to a battens to remove any imperfections in the base wall.
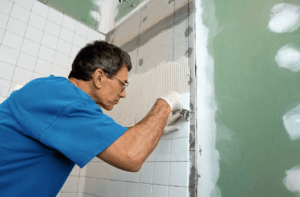
These no doubting the number of choices for your kitchen’s splashback is ever growing. We still reckon that tiling offers the best durability as well as being completely flexible with layout and styling. Not only that, some of the other choices may be currently fashionable but might date quickly.
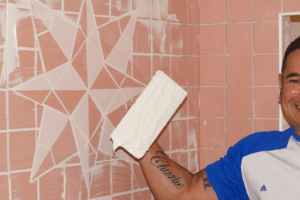
Get in touch with us here at UK Pro Tiling to learn or refresh your tiling skills and get ready to create that timeless look in the kitchen.
 Priming The Wet Room
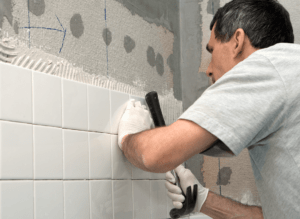 Drainage Systems