A successfully tiled floor undoubtedly makes for a great interior, while tiling that is, shall we say, a little rough around the edges can ruin a rooms aesthetics.
Ultimately, the key to a good tiling job is planning, preparation and precision. Therefore, UK Pro Tiling Training have put together the following tips for floor tiling, to guide you through the process of laying floor tiles for maximum tiling efficiency and success.
Step 1: Make sure you have all the equipment you need before you start.
Have all the tools and equipment you need out and ready-to-hand. Have your equipment organised so that you know exactly where everything is, and it isn’t all spread out across the room.
After all, the last thing you want, is to begin tiling and realise you don’t have an essential tiling tool in your tool box. Neither will you want to walk over your freshly laid tiles to pick up a piece of equipment.
You’ll need the following checklist of equipment for laying floor tiles:
Materials
- Floor tiles
- Grout
- Silicone sealant
- Cement floor tile adhesive
- SBR Acrylic primer
Protective Kit, PPE
- Safety goggles or glasses
- Dust/respiratory mask
- Knee Pads
strong>Tools
- 10mm or 12mm notched trowel
- Tile marker
- Tile spacers
- Tile file
- Tile cutter (manual and electric)
- Grout float
- Grout finisher/shaper
- Spirit level
- Sponge
- Soft cloths
- Junior hacksaw (for door thresholds)
Step 2: Prepare your existing floor.
As with all DIY projects, preparation is a key part of laying floor tiles and can make the difference between well-laid floor tiling and a mediocre job.
Calculate the number of tiles you need
Firstly, you should calculate the correct quantity of tiles to buy. You can do this by measuring the length x width of the room in metres, positioning the key tile before you get started for a view of tile size. Whats more, you should always buy 10% more tiles than you need to allow for any errors, wrongly cut tiles or underestimated measurements. You do not, after all, want a beautifully tiled floor that has tiles missing.
Clean and prepare the floor for tiling
Next, you should clean the concrete that will form your floor base, and strengthen any timber flooring with 6mm cement boards or 12mm exterior ply screwed down every 300mm.
If you have existing floor tiles, don’t forget that new tiles can be laid over old vinyl tiles, as long as you coat the old tiles with a suitable acrylic primer.
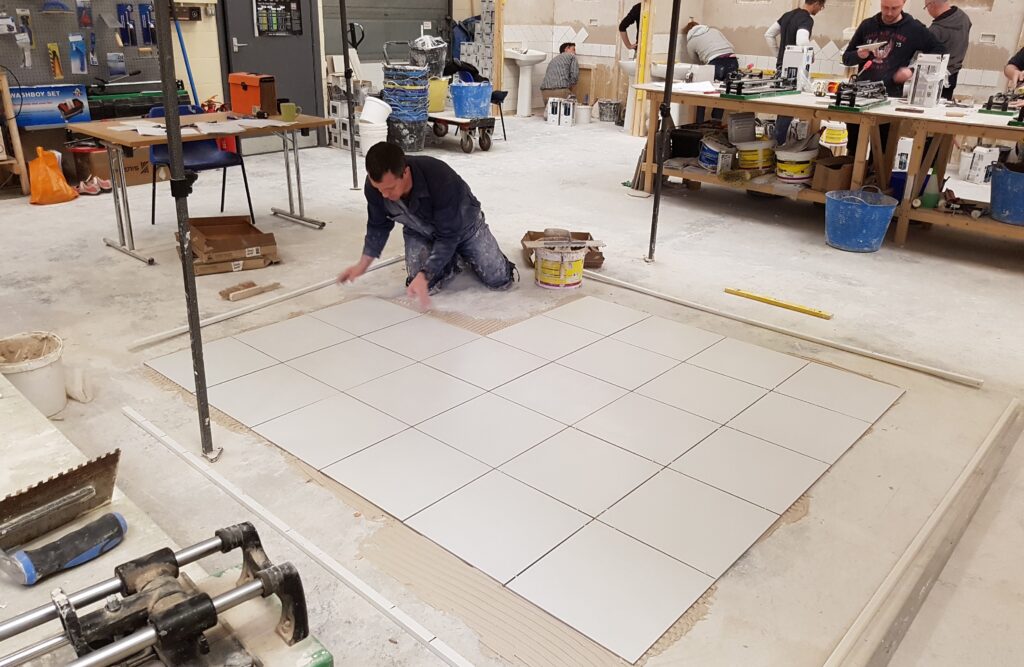
Step 3: Laying the floor tiles
When laying your floor tiles, you should start in the centre of the room, and plan to finish by the exit, so that you don’t need to walk over your freshly laid tiles when the floor is covered.
It is worth noting that, if you need to keep using the room that you are tiling, (perhaps it is your kitchen, for example), tile half the room at a time.
Before applying the adhesive, you should place the tiles on you floor so that you can see how they are going to sit. This prevents mistakes from the beginning of the process. After all, you don’t want to apply the tiles unevenly.
Spread the adhesive
When you are ready to apply the floor tiles, spread the adhesive evenly across the floor, over roughly a square metre of the floor surface, using a 10-12mm notched trowel. Spread the adhesive with the smooth side of the trowel, then use the serrated edge to lay the tiles.
Lay the floor tiles
Start by placing the key tile securely, then work outwards working in blocks of four. Fit plastic tile 3mm spacers between each tile to ensure an equal gap between each, really press them in so they are hidden and below the surface.
Don’t forget, if you are using wider tiles, you’ll need a wider space between them up to 5 mm.
Use a spirit level
Check that your laid tiles are level using a spirit level.
Continue tiling until you have covered the area of the floor you set out to cover, and use a sponge to wipe off adhesive as you go (before the adhesive dries onto the tiles).
Step 4: Cutting tiles and fitting edges
Use the correct PPE
Before cutting any tiles, make sure that you are using the necessary Personal Protective Equipment (PPE) and think primarily about your safety.
Measure the required tile size
In order to know the size that you’ll need to cut your edging tiles to, you’ll need to measure how large the edging tiles need to be. You can so this by drawing a line with a tile marker.
Cutting and filing the tile
Cut along marked line with tile cutter and smooth the edge with tile file. When laying the edging tile, you can use tile spacers for alignment, just the same as the process of laying the whole tiles.
Step 5: Grouting the floor tiles
Use a grout float
When it comes to grouting your laid floor tiles, make sure you have enough grout for the whole surface area of your floor. Apply the grout to the spaces between the tiles using a grout float, use the rubber surface to press the grout downwards so it is level.
Wipe off surplus grout
It is important to wipe away surplus grout with a damp sponge as you go. You can also smooth the grout over with a grout finisher.
Allow grout to harden
When you have grouted the whole floor, it is essential that you avoid walking on the floor until the grout has hardened.
Apply silicon sealant
When the grout is dry (check the instructions of the particular grout that you are using for the required period of drying time), clean your floor again and apply the silicon sealant. You only need to apply the silicon sealant between the tiled floor and the edge of the wall or skirting board. The sealant will prevent openings between the tile edge and the skirting board and produce a neater finish.
Doorways
A door threshold can be screwed down to cover the edging join at doorways, or be fixed in place using a suitable adhesive. You may want to use a junior hacksaw to cut down and fit wooden, or metal, thresholds.
Polish the floor
Polish your completed floor, to remove any dust, grout, adhesive or other unwanted dirt. Until your freshly tiled floor is completely dry, it is best to avoid constant and heavy use.
Contact us at UK Pro Tiling Training
If you would like any more information about floor tiling or have any questions about our floor tiling tips, then please do not hesitate to contact us!