Types Of Trowels In Tiling
How Tiling Trowels Work
If you’re undertaking a new tiling project, then it’s essential that you choose the correct trowel for the size of tile that you’re using it’s one of the most important tiling tools you’ll need on a job.
In the same way as masonry trowels, tile trowels feature handles and flat metal plates, designed for scooping up and pasting mortar onto smooth surfaces. Trowels feature notches, which do two vital things.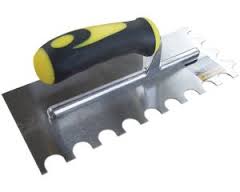
Tile Sizes
Tiles come in varied sizes these days, from very small to extremely large and, therefore, getting the right amount of adhesive on the back is essential to make the tiles stick to the wall or floor.
The smallest tiles are mosaic tiles, which are usually about 1-inch square and come on a sheet covering approximately 12 x 12-inch squares or 300 x 300mm.
The largest tiles can be up to 1.2 metres long or 1200mm x 600mm wide, so which notched trowel do you use where? Well, as a rule of thumb, the larger the tile, the larger the notched trowel you would use to fix them.
Tiling Trowel Sizes
There are different trowel sizes available, including:
- 3mm square notch
- 6 mm Square notch
- 8 mm square notch
- 10mm square notch
- 12 mm square notch
- 20mm square notch
The Types of Trowels Explained
3 mm tile trowels are often used for fixing mosaic tiles as this produces a very thin bed of adhesive which means there’s less chance of the adhesive coming through the tiles when fixing.
After that, the mm size of the notch roughly equates to the inches of tile being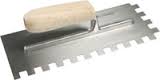 fitted plus another 2 inches. For example, 6mm notch = 6-8 inch tile, 8mm notch = 8-10 inch tile, 10mm notch = 10 -12 inch tile, and so on. A 12mm notch would be used for any tile over 12 inches.
This is a general rule and things can change due to the flatness of the surface you’re tiling onto so this information is for general guidance only. If the surface isn’t flat, then you can increase the notch to the next size to what would be generally used.
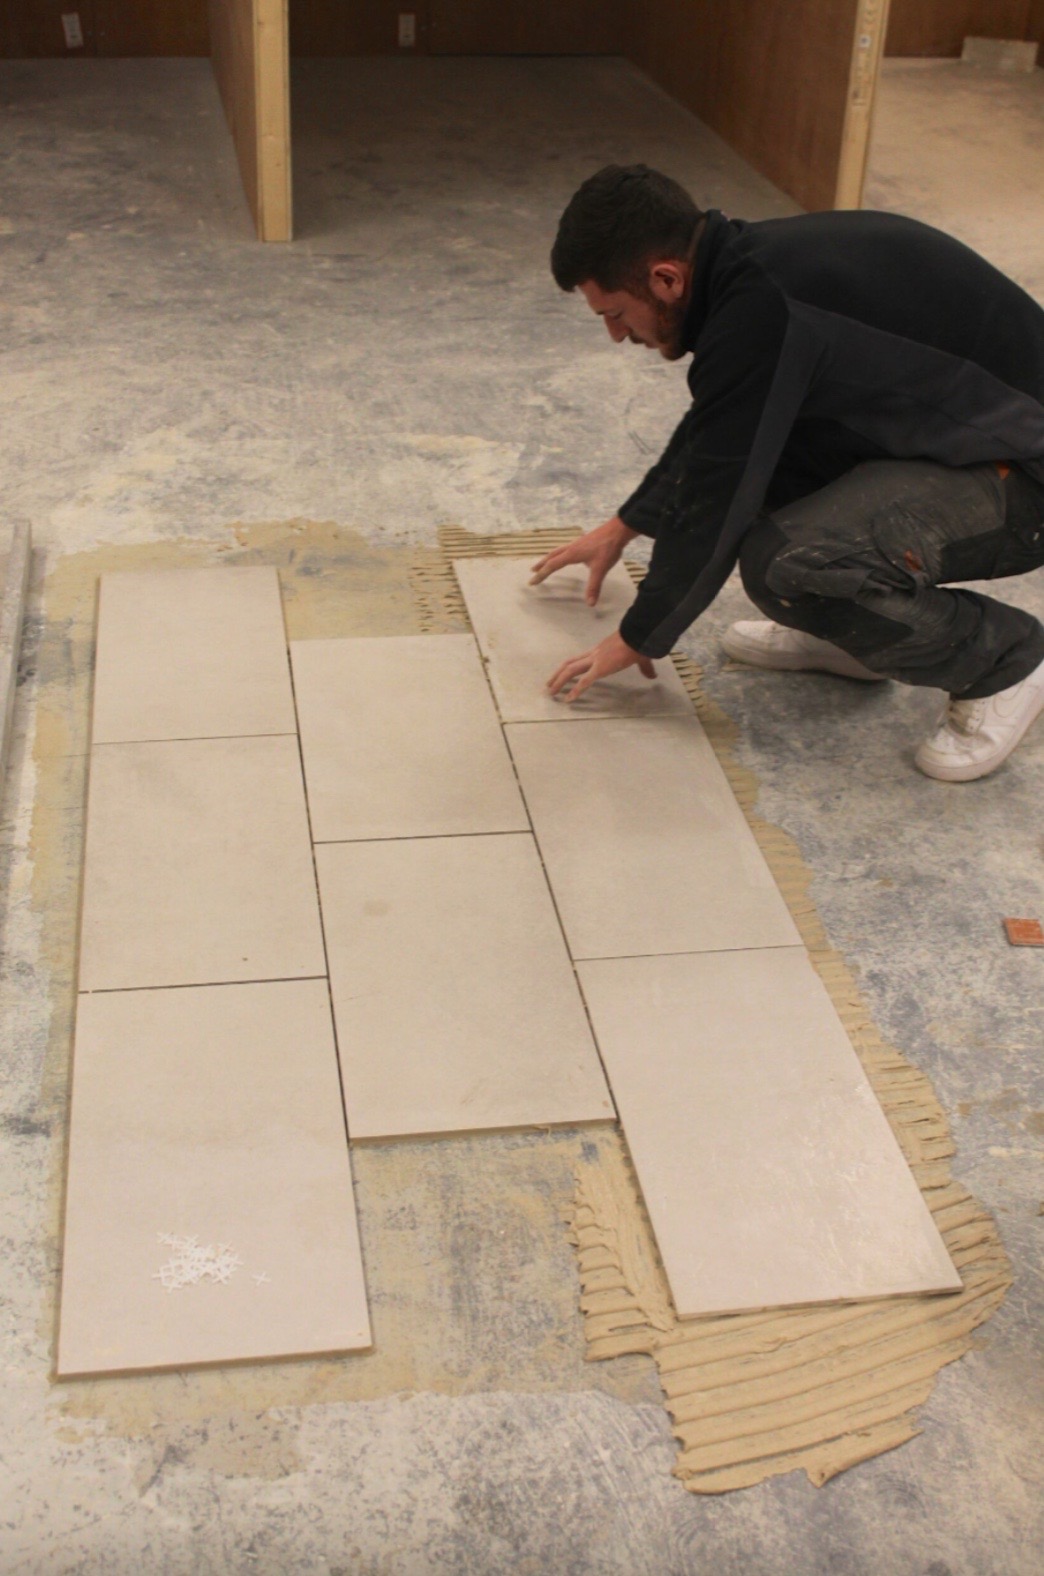
For floor tiling, a minimum of 10mm trowels would be used to ensure there’s enough contact on the back of the tile to make sure there are no voids.
When trowelling your adhesive onto walls and floors, make sure you trowel at an angle of 45 degrees and press hard scraping the wall or floor only to leave the notch of adhesive.
When placing a tile, move it out 5mm then back to make sure your adhesive gets a good contact with the tile.
Decent quality tiling courses can show you the correct methods of tile application. UK Pro Tiling Training offers fast track professional tiling courses which give you the correct methods of application and the background knowledge to do the job correctly. For more information visit www.tiling-courses.co.uk
About Author